


Wooden Tree Painting Ideas for Every Season
One little wooden forest. Four seasons. Endless ways to paint it.
Copy a whole tree, borrow one color combination, save a tiny detail, or mix several ideas together until your wooden forest feels like yours.
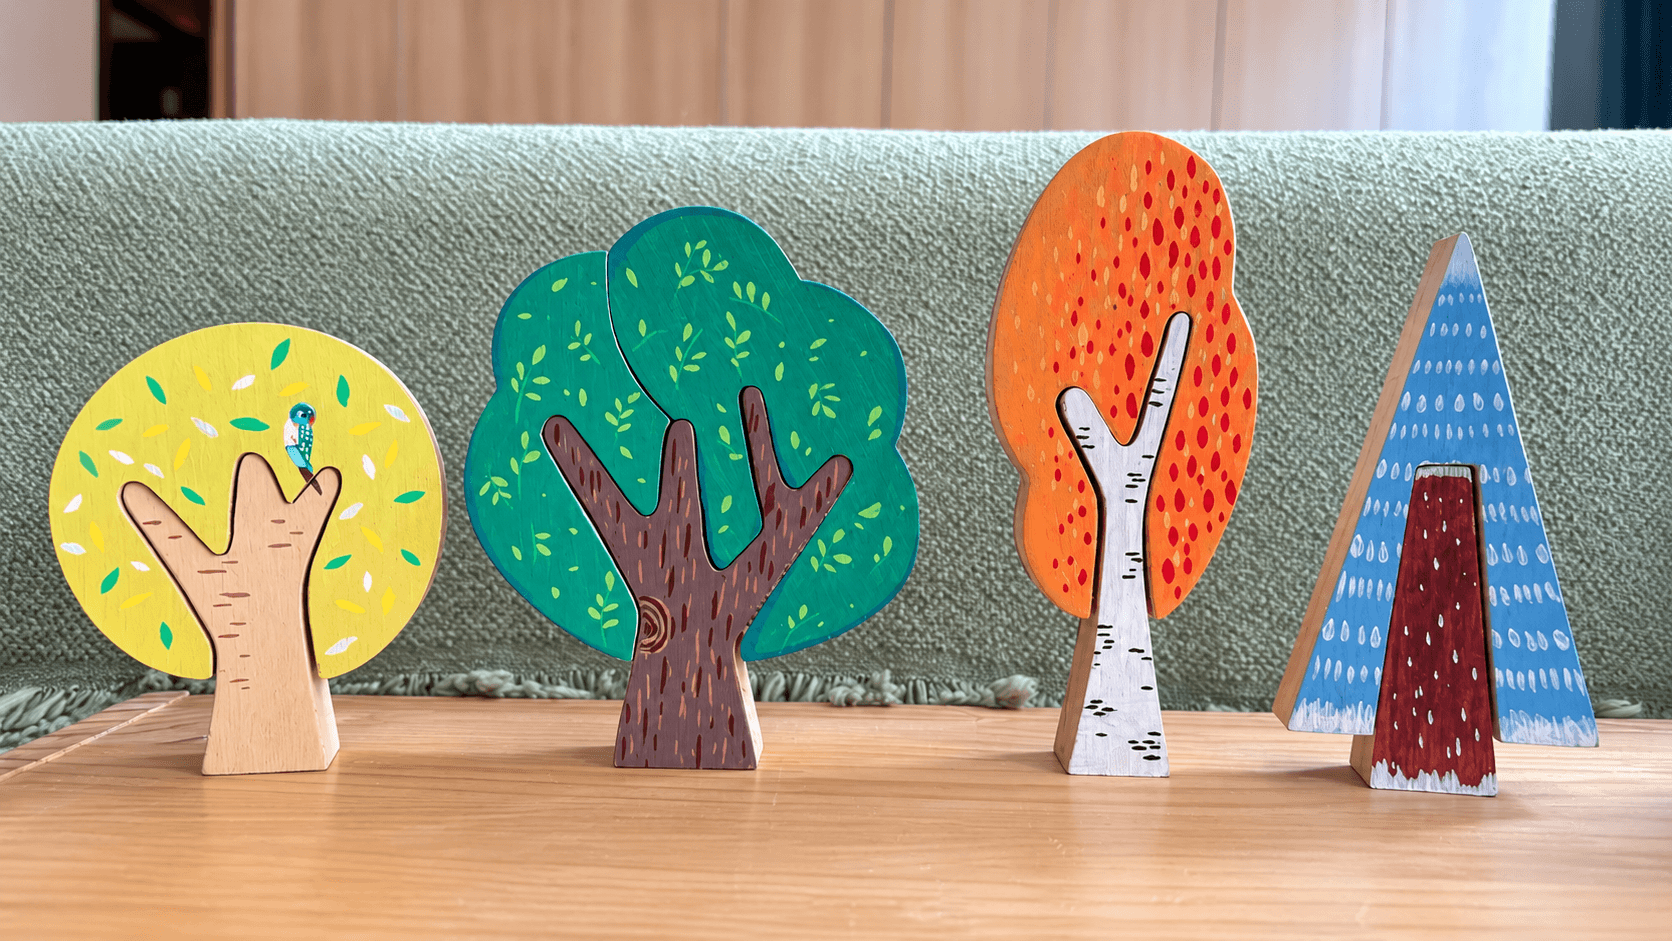
🌳 Start anywhere.
Use the polished images for inspiration, then scroll down to see real customer creations from normal craft tables, shelves and everyday painting sessions.
BEFORE YOU START
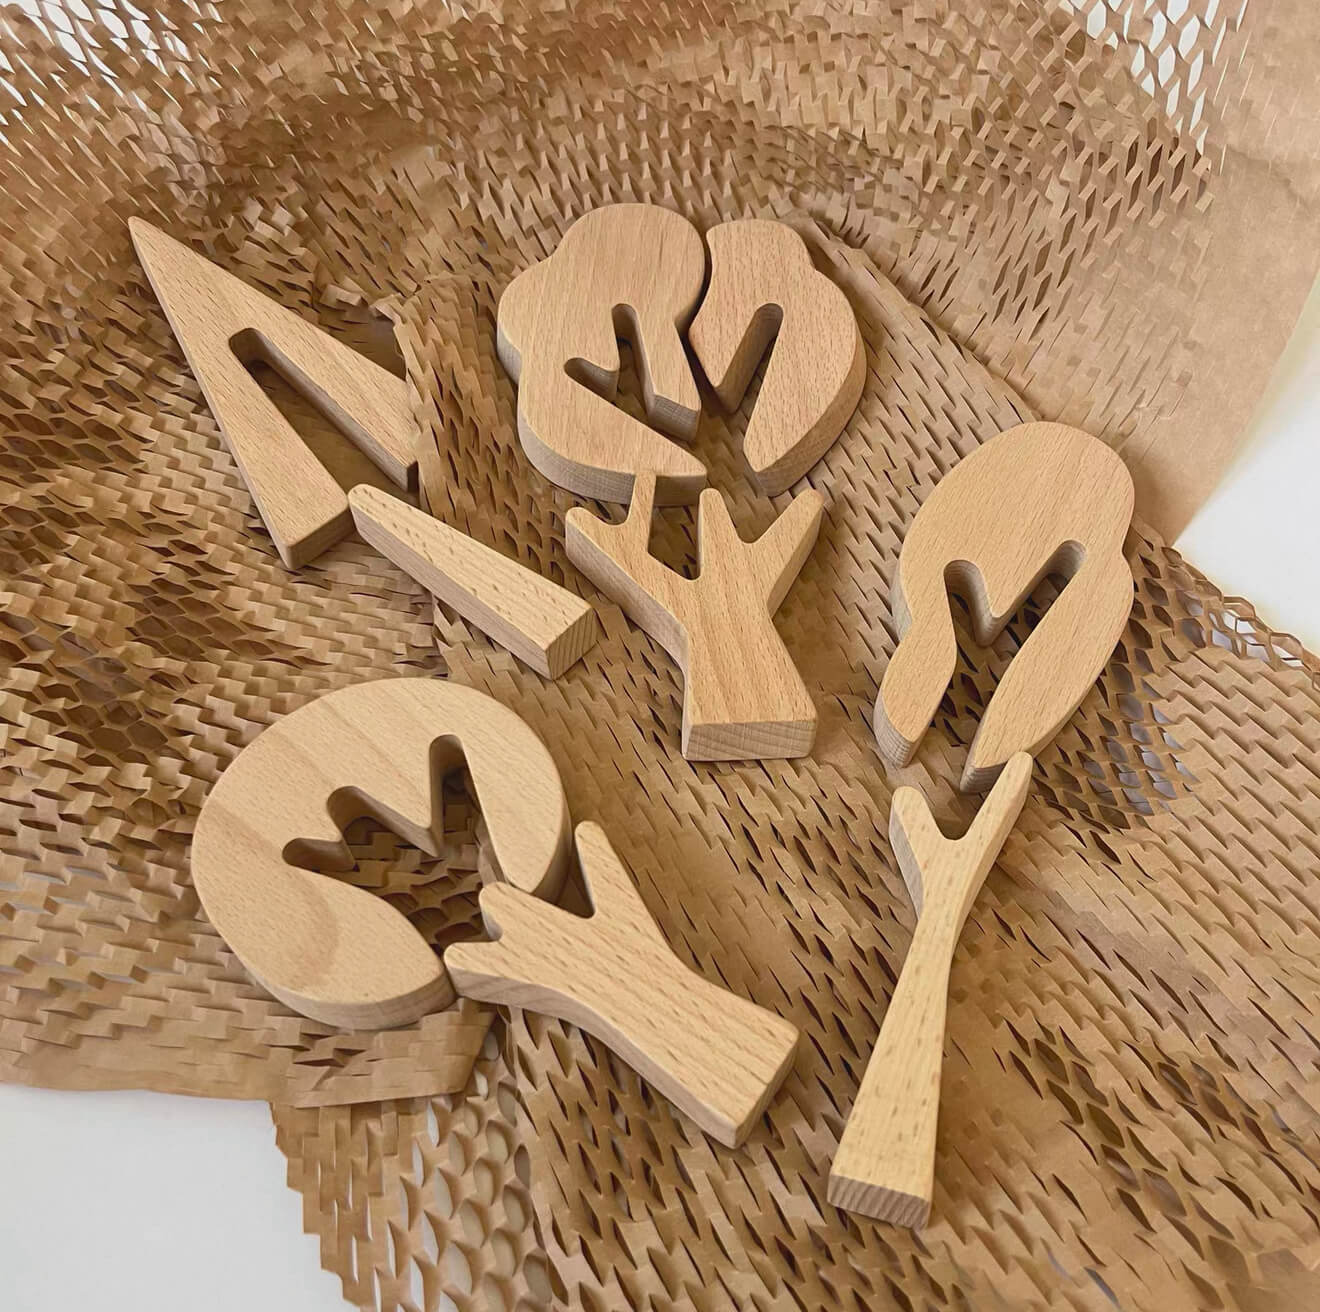
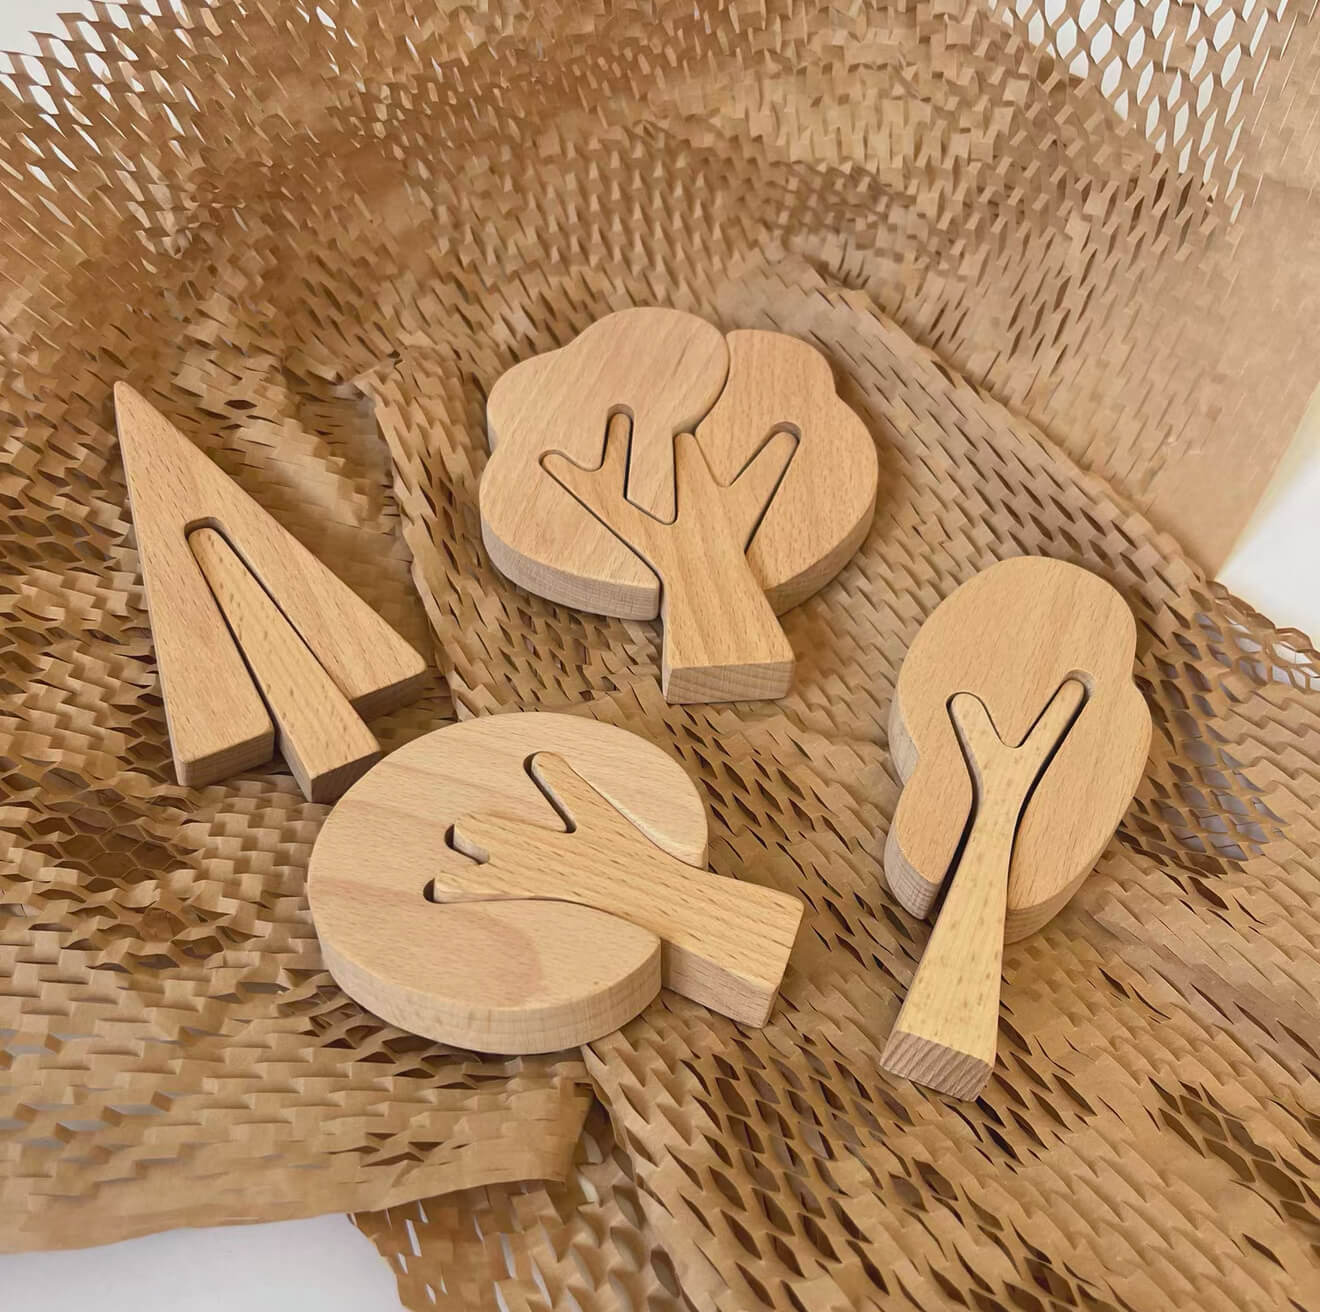
Start with the wooden shape.
Rounded trees give you room for dots, leaves, flowers and small illustrations. Tall pines are great for stripes, snow, gradients and simple blocks of color.
There is no need to plan everything before you start. Sometimes the easiest way in is simply choosing one color you like.
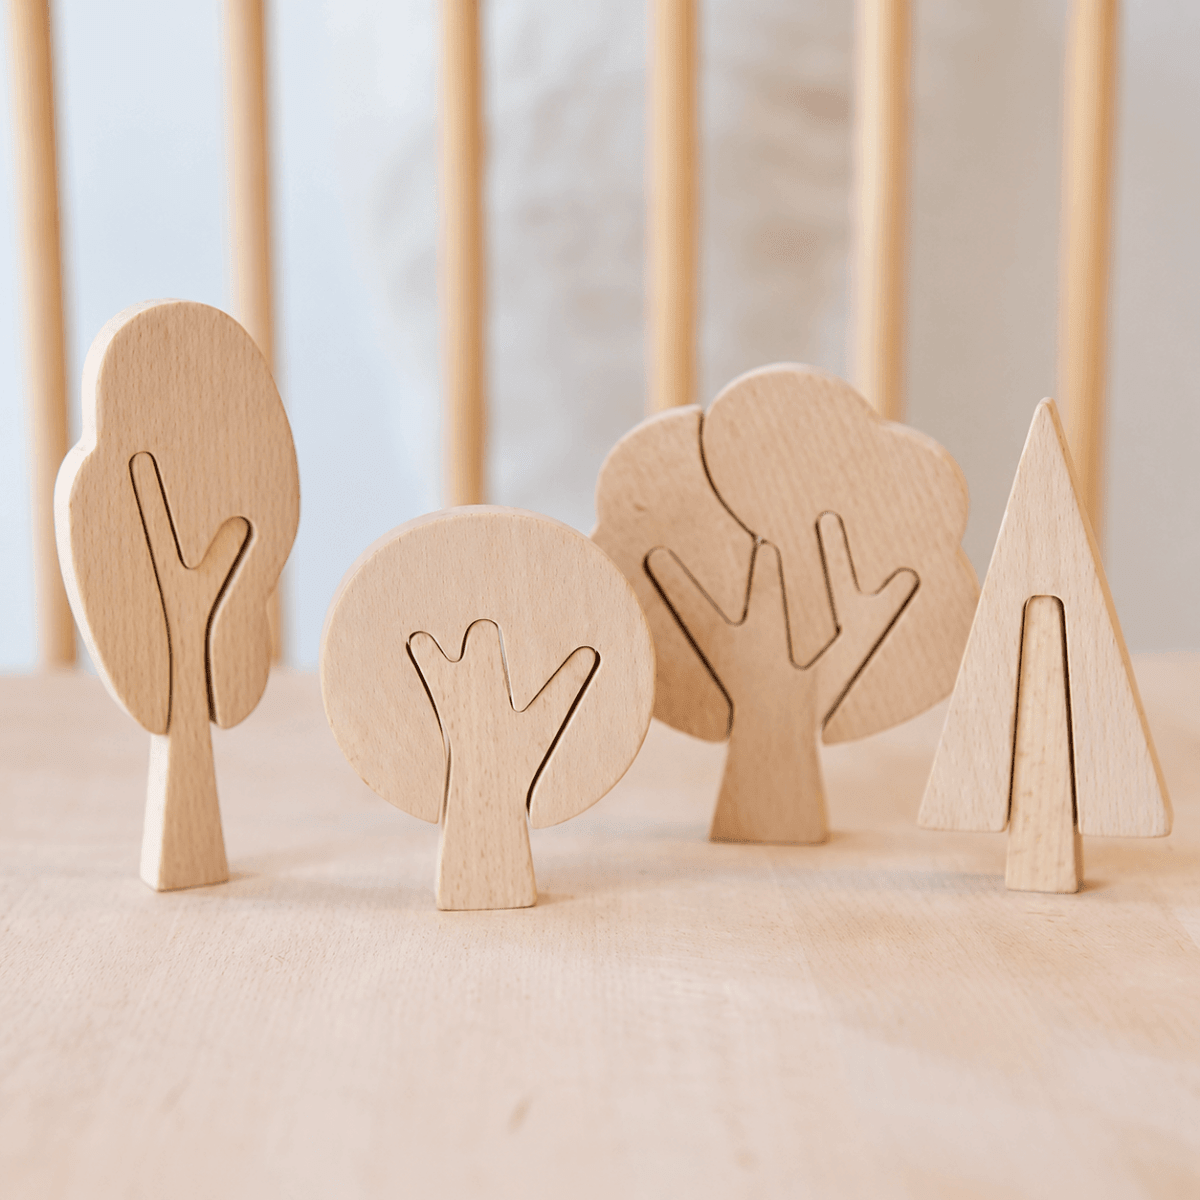
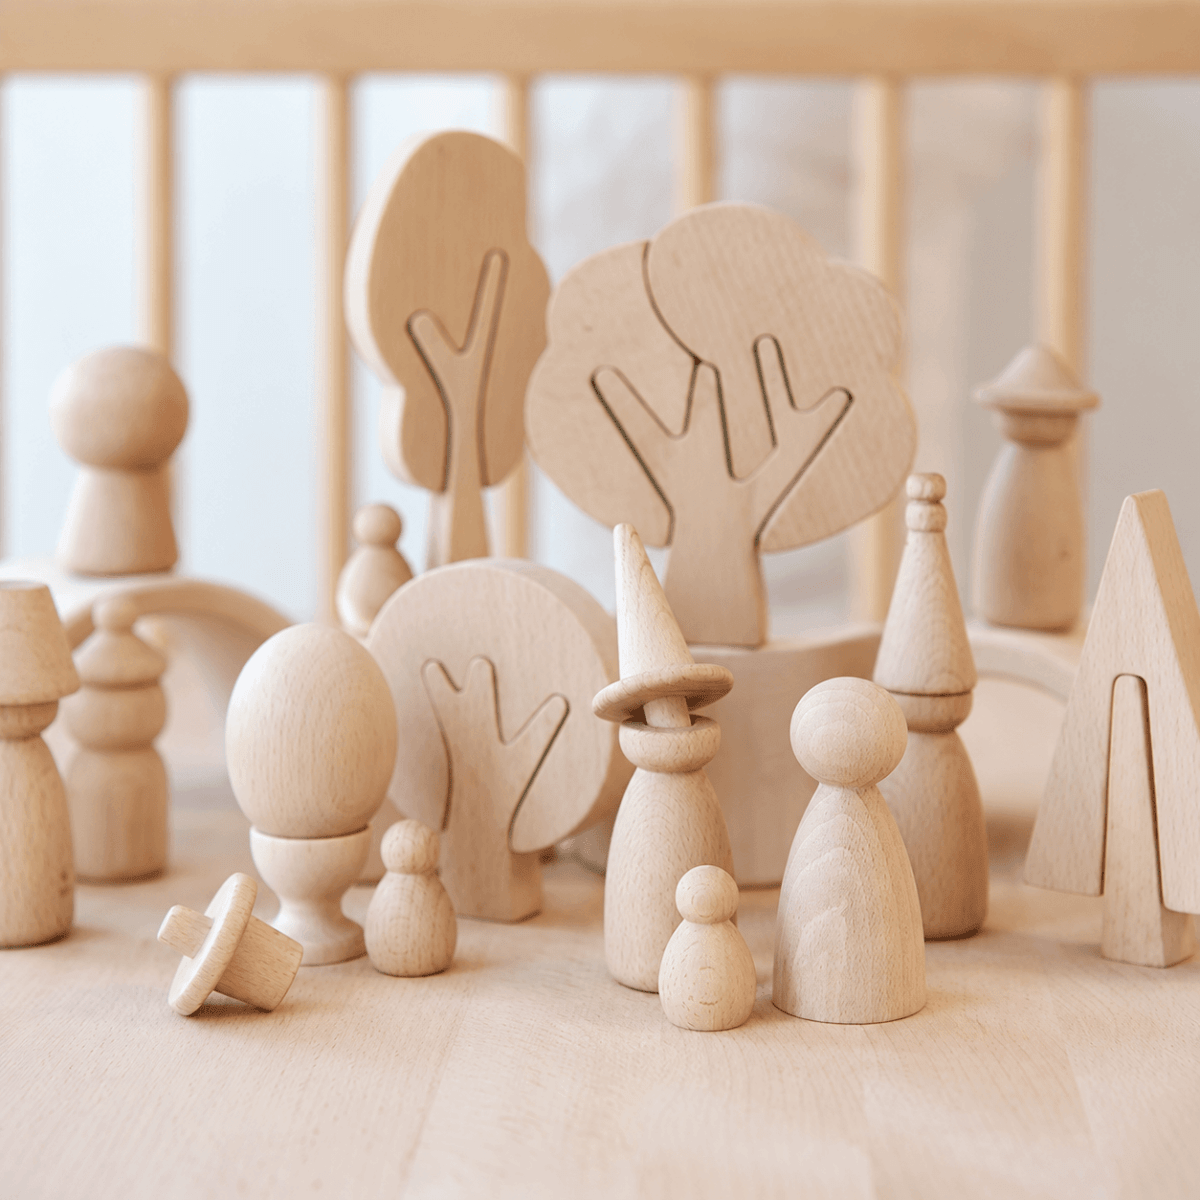
One tree for every season.
If you are not sure which colors to use, start with the seasons. Spring, summer, autumn and winter already give you four very different palettes.
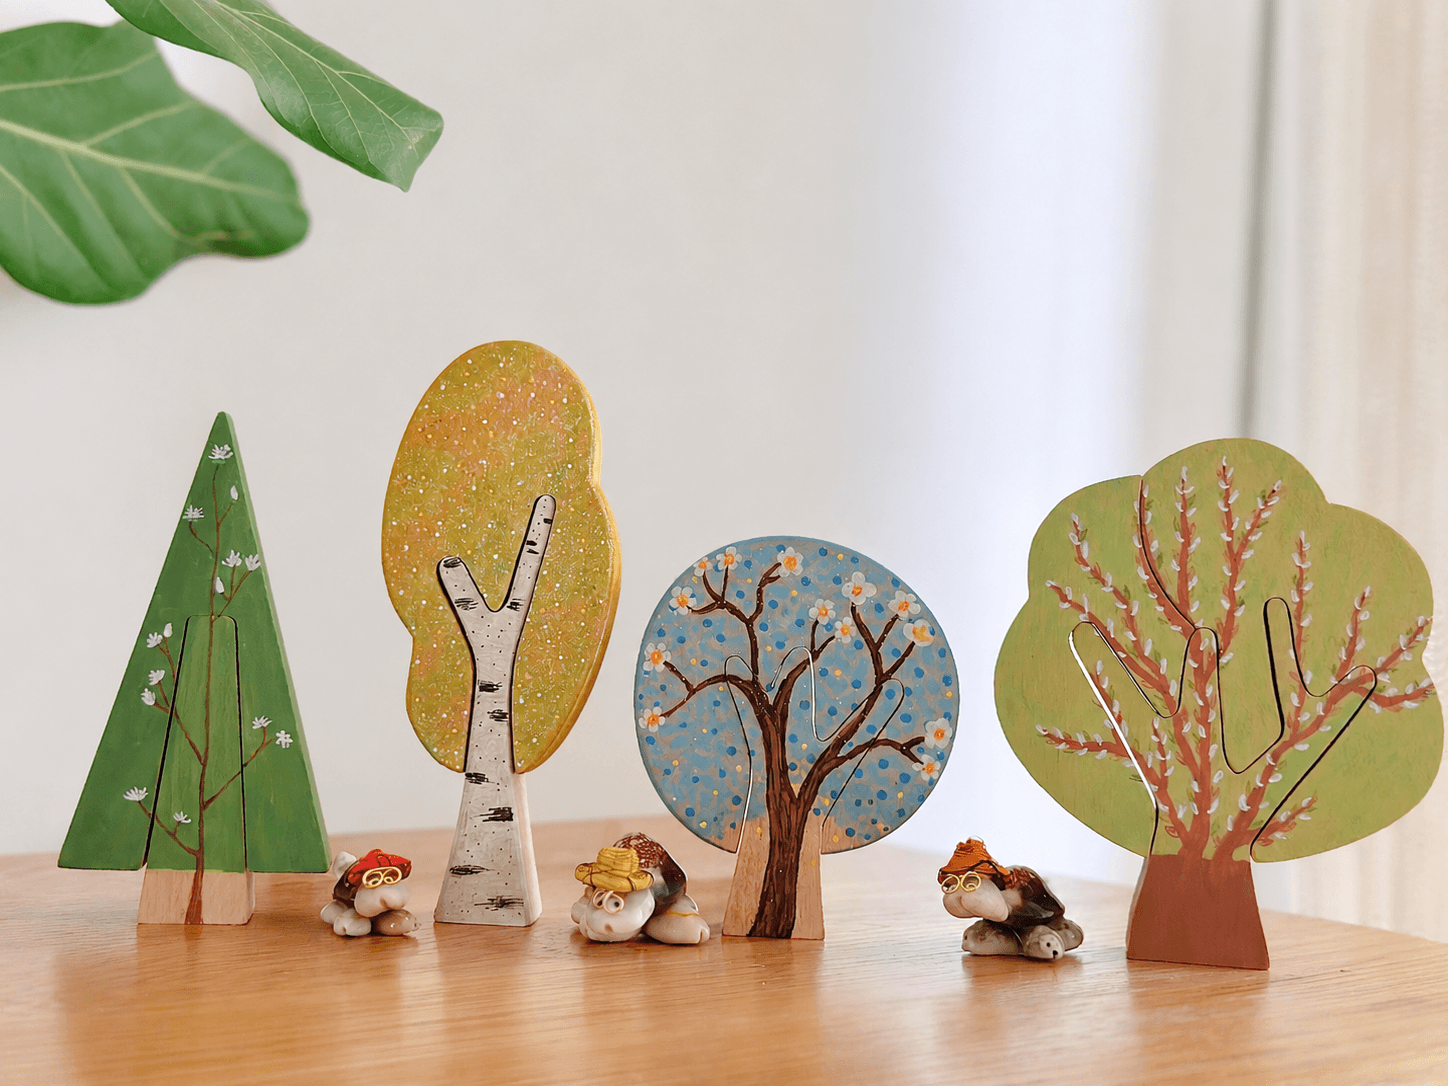
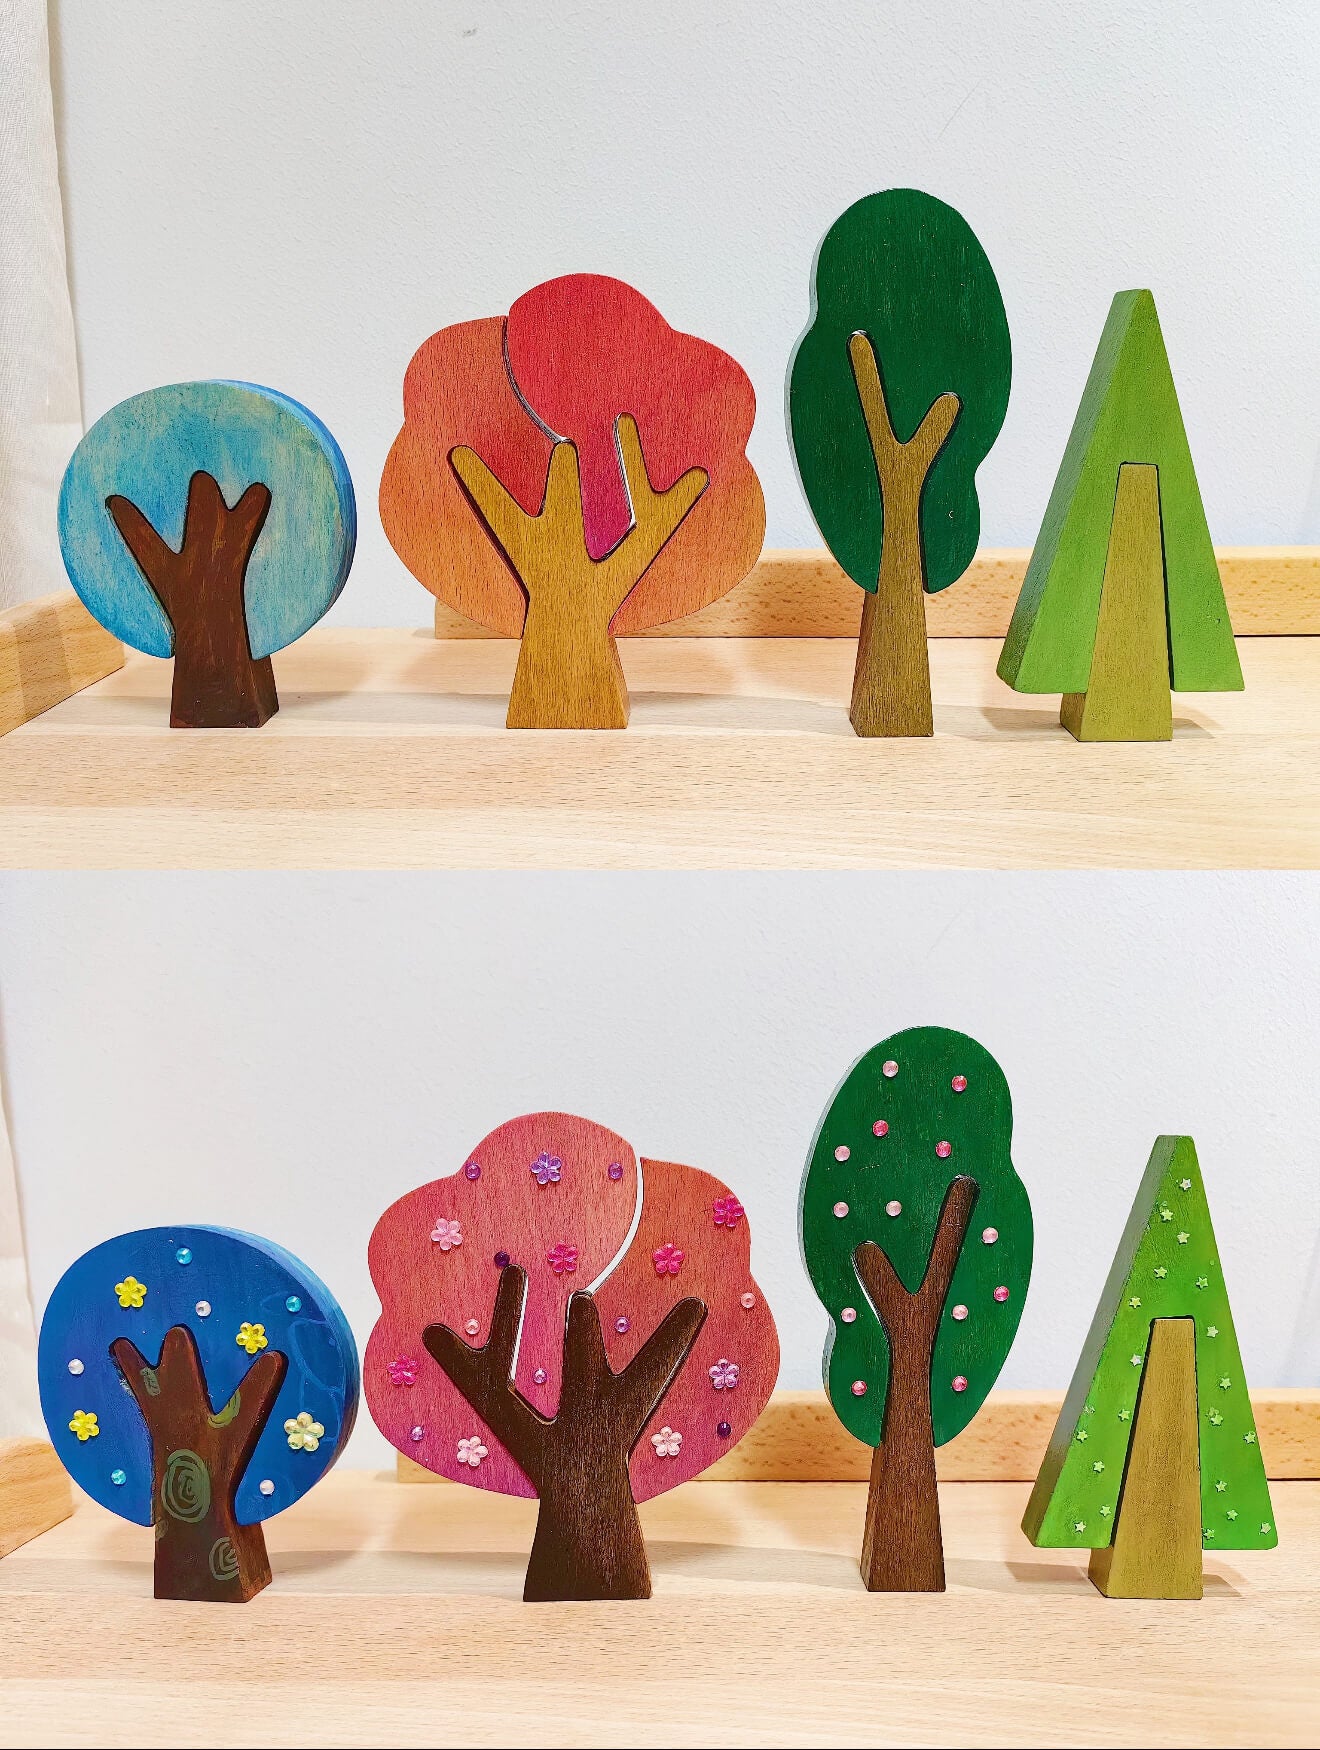
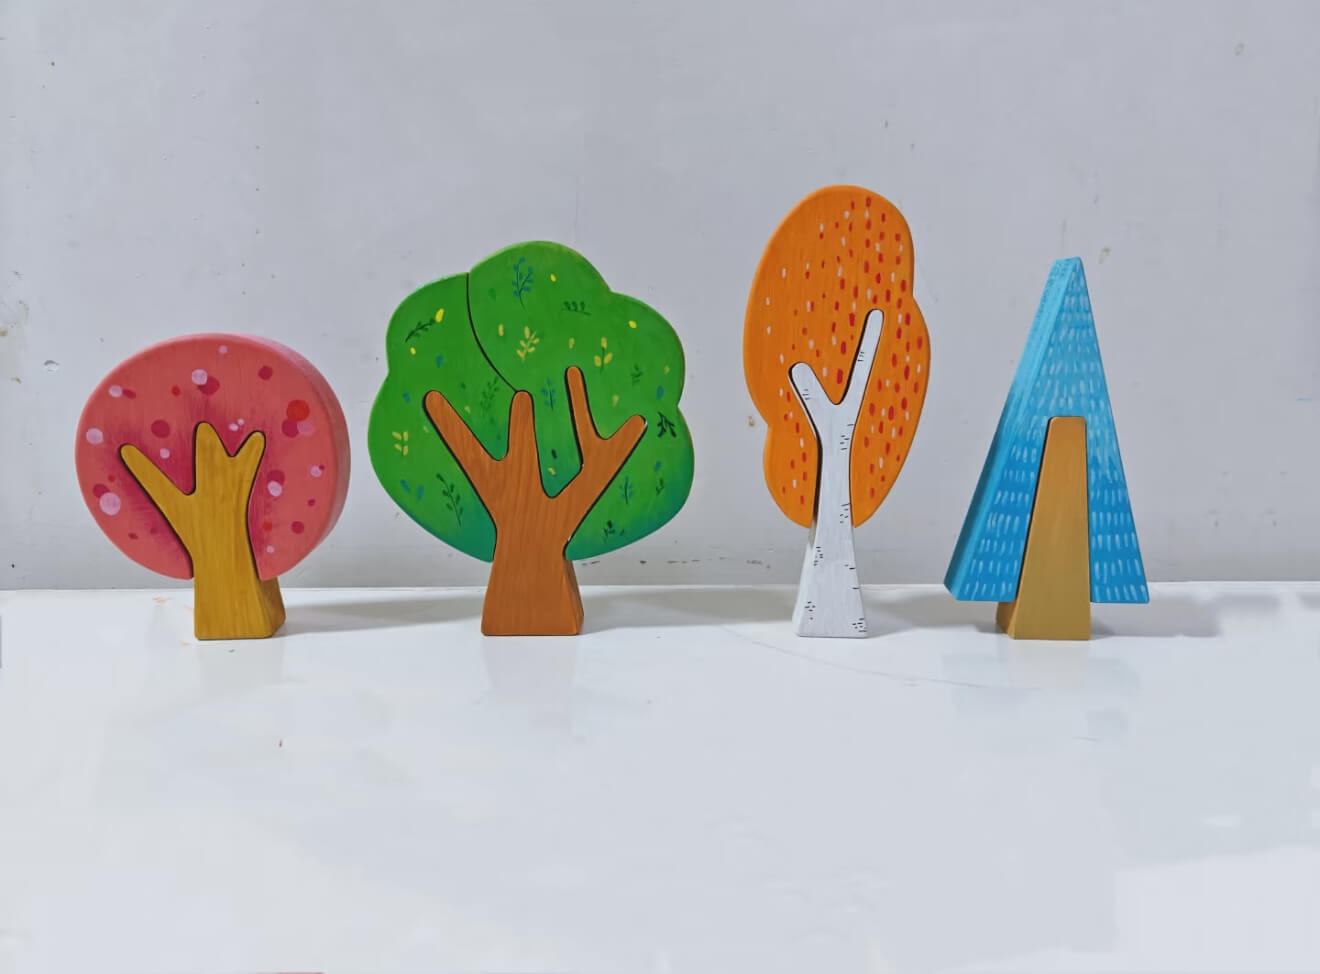
Keep these four together as one set: fresh green for spring, teal for summer, warm yellow and orange for autumn, and cool blue for winter.
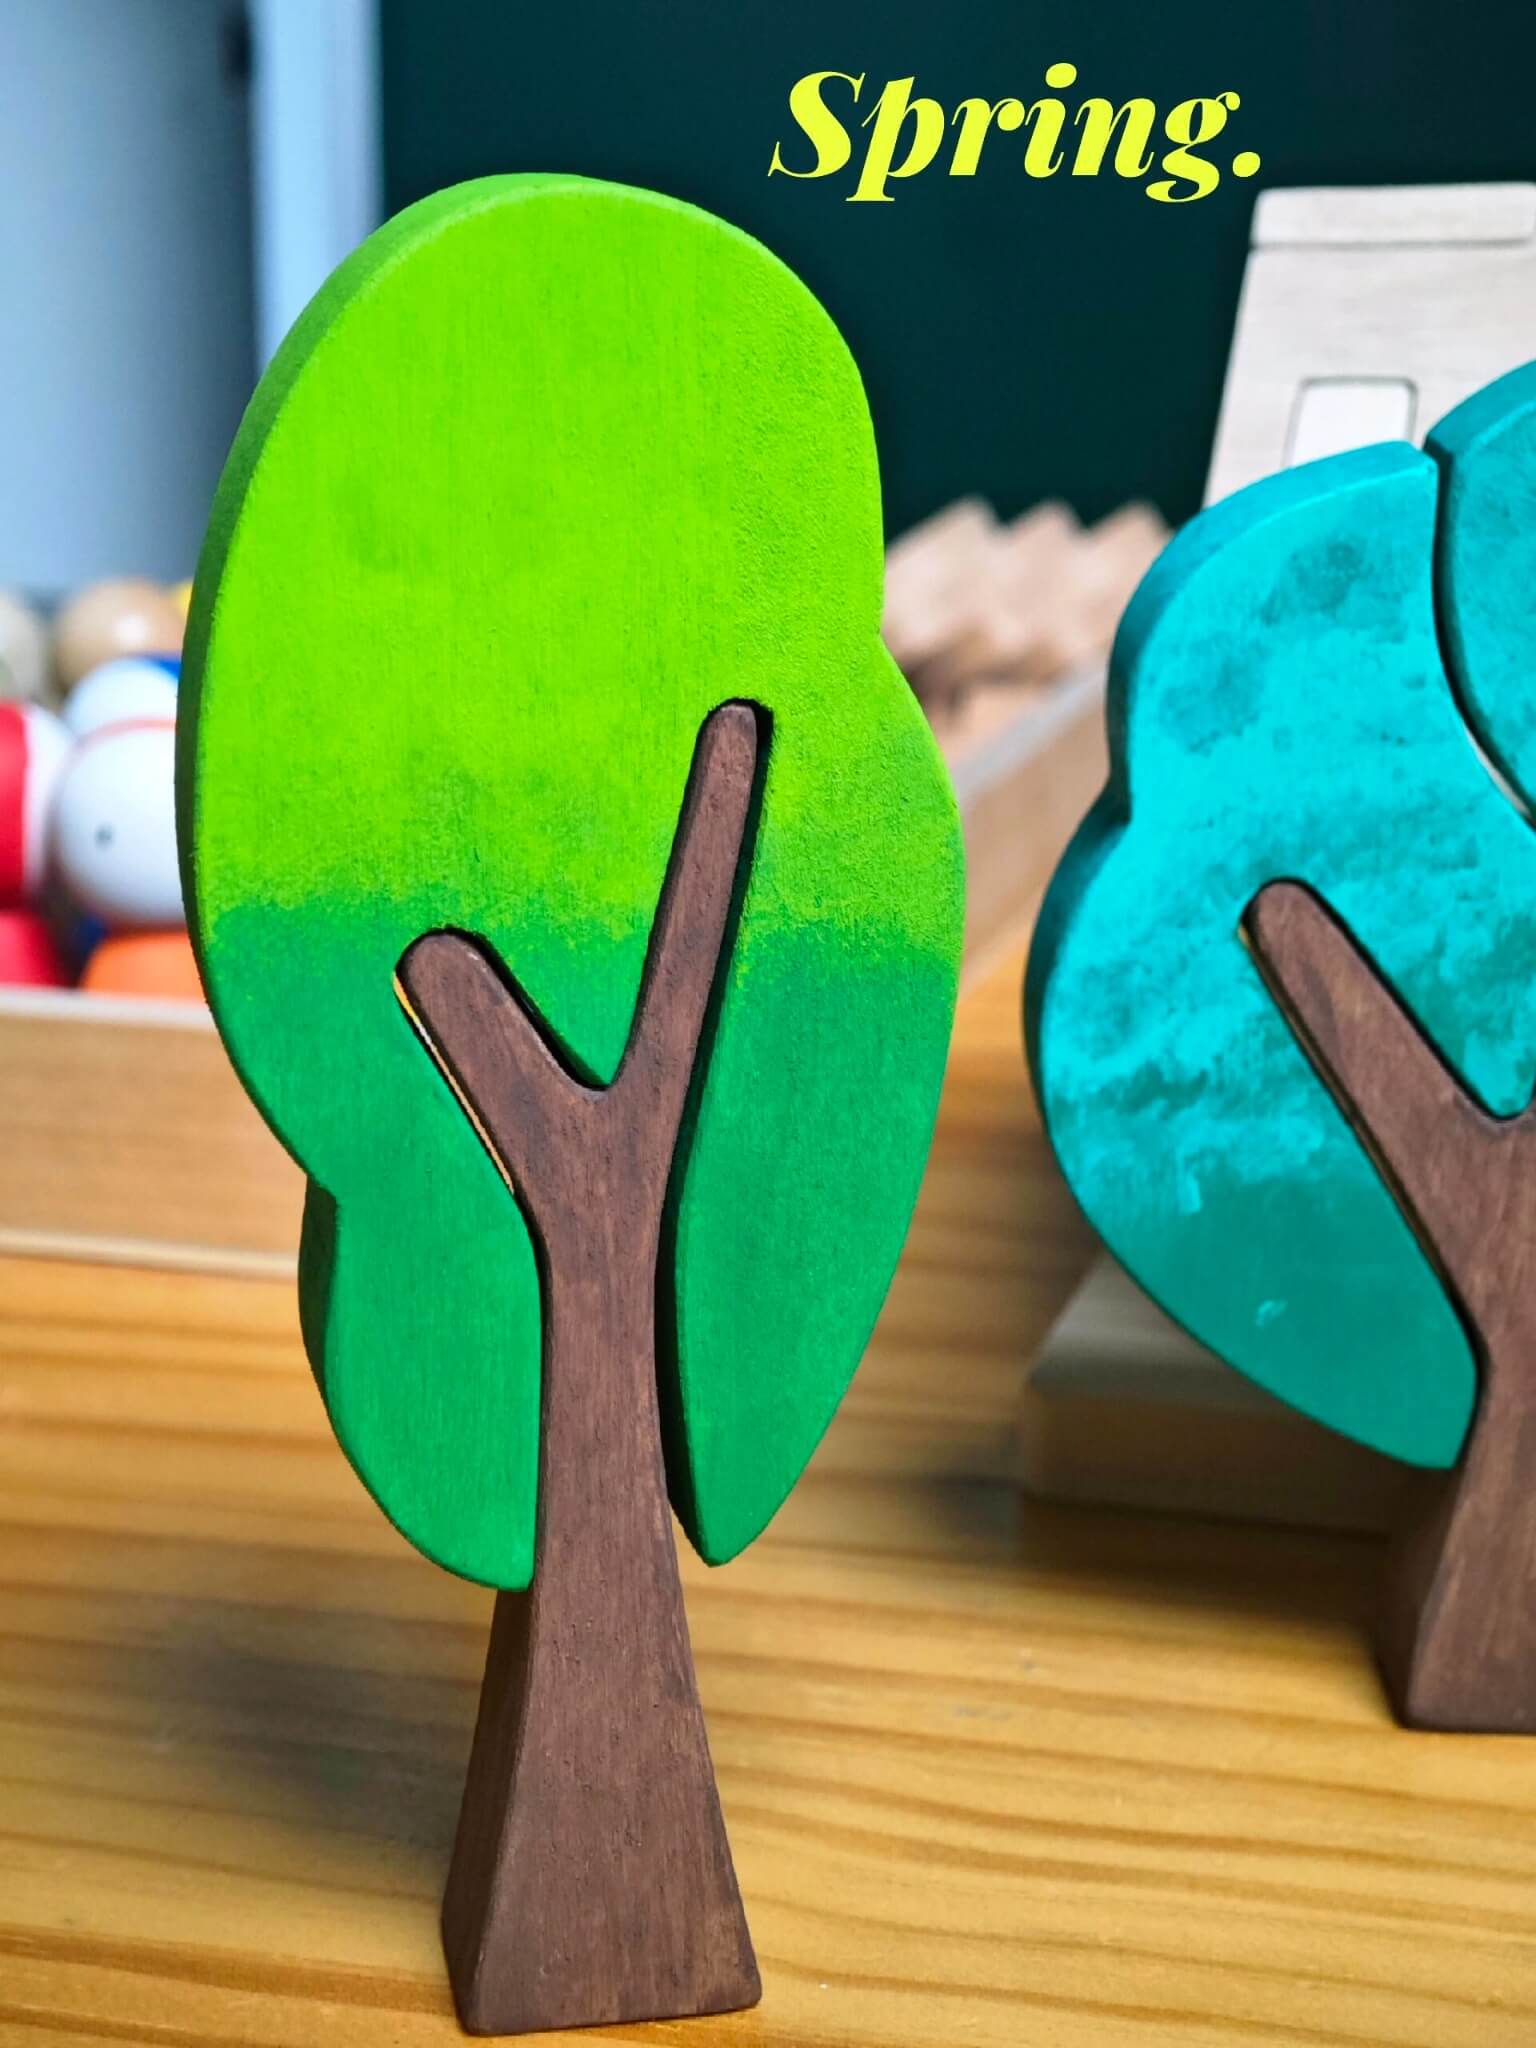
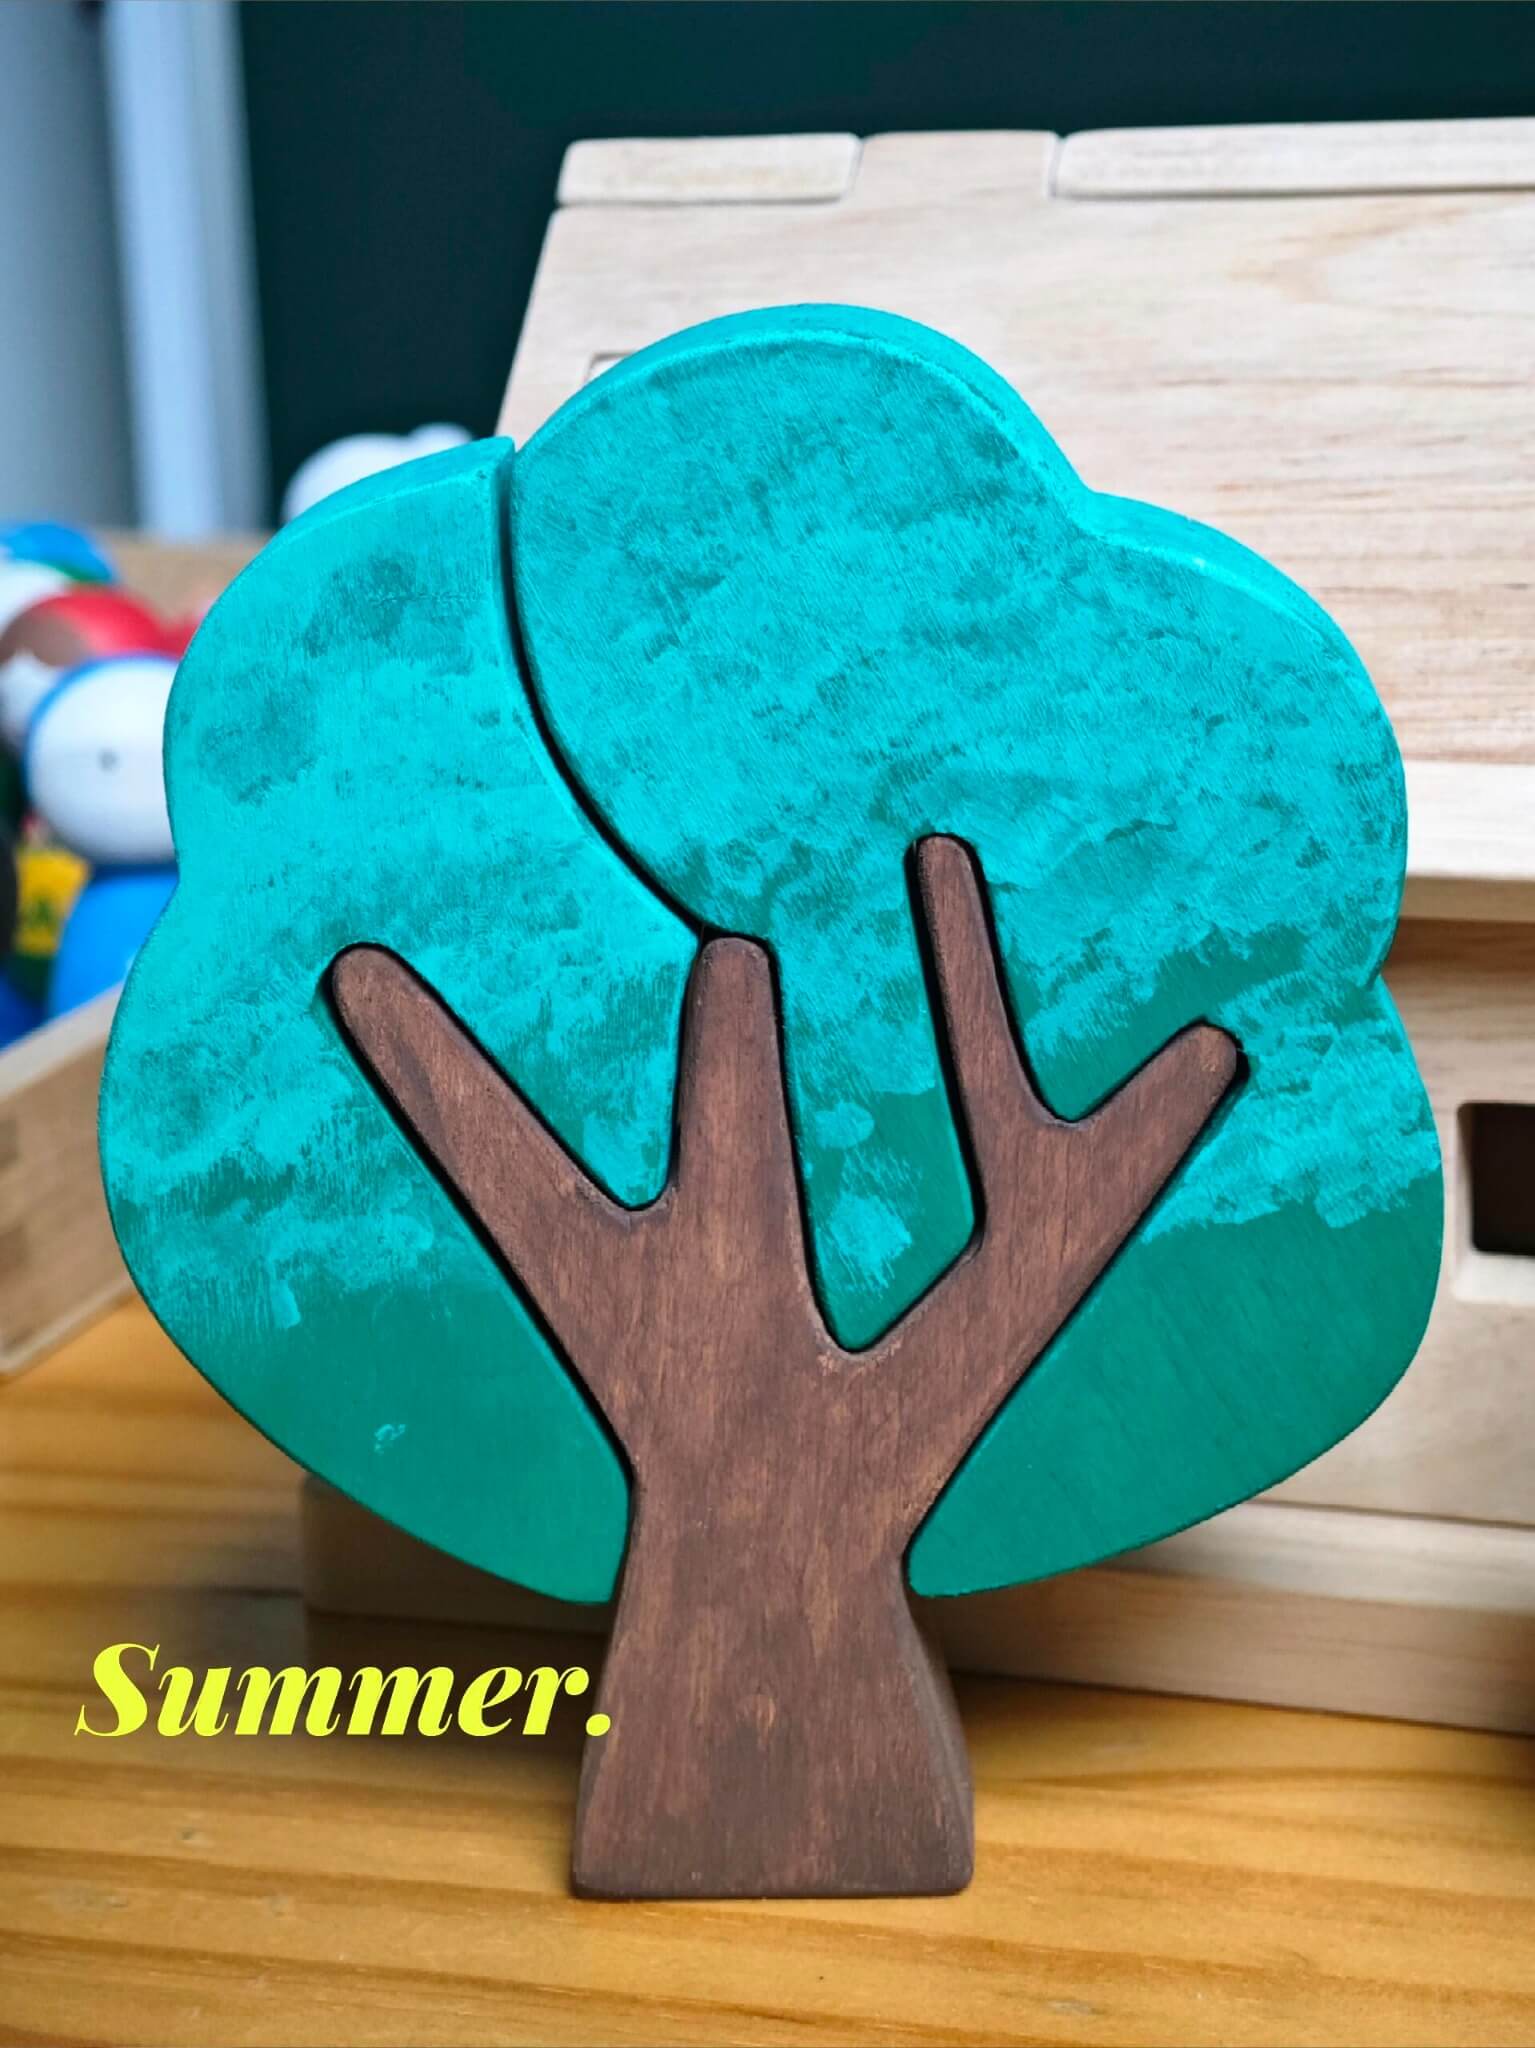
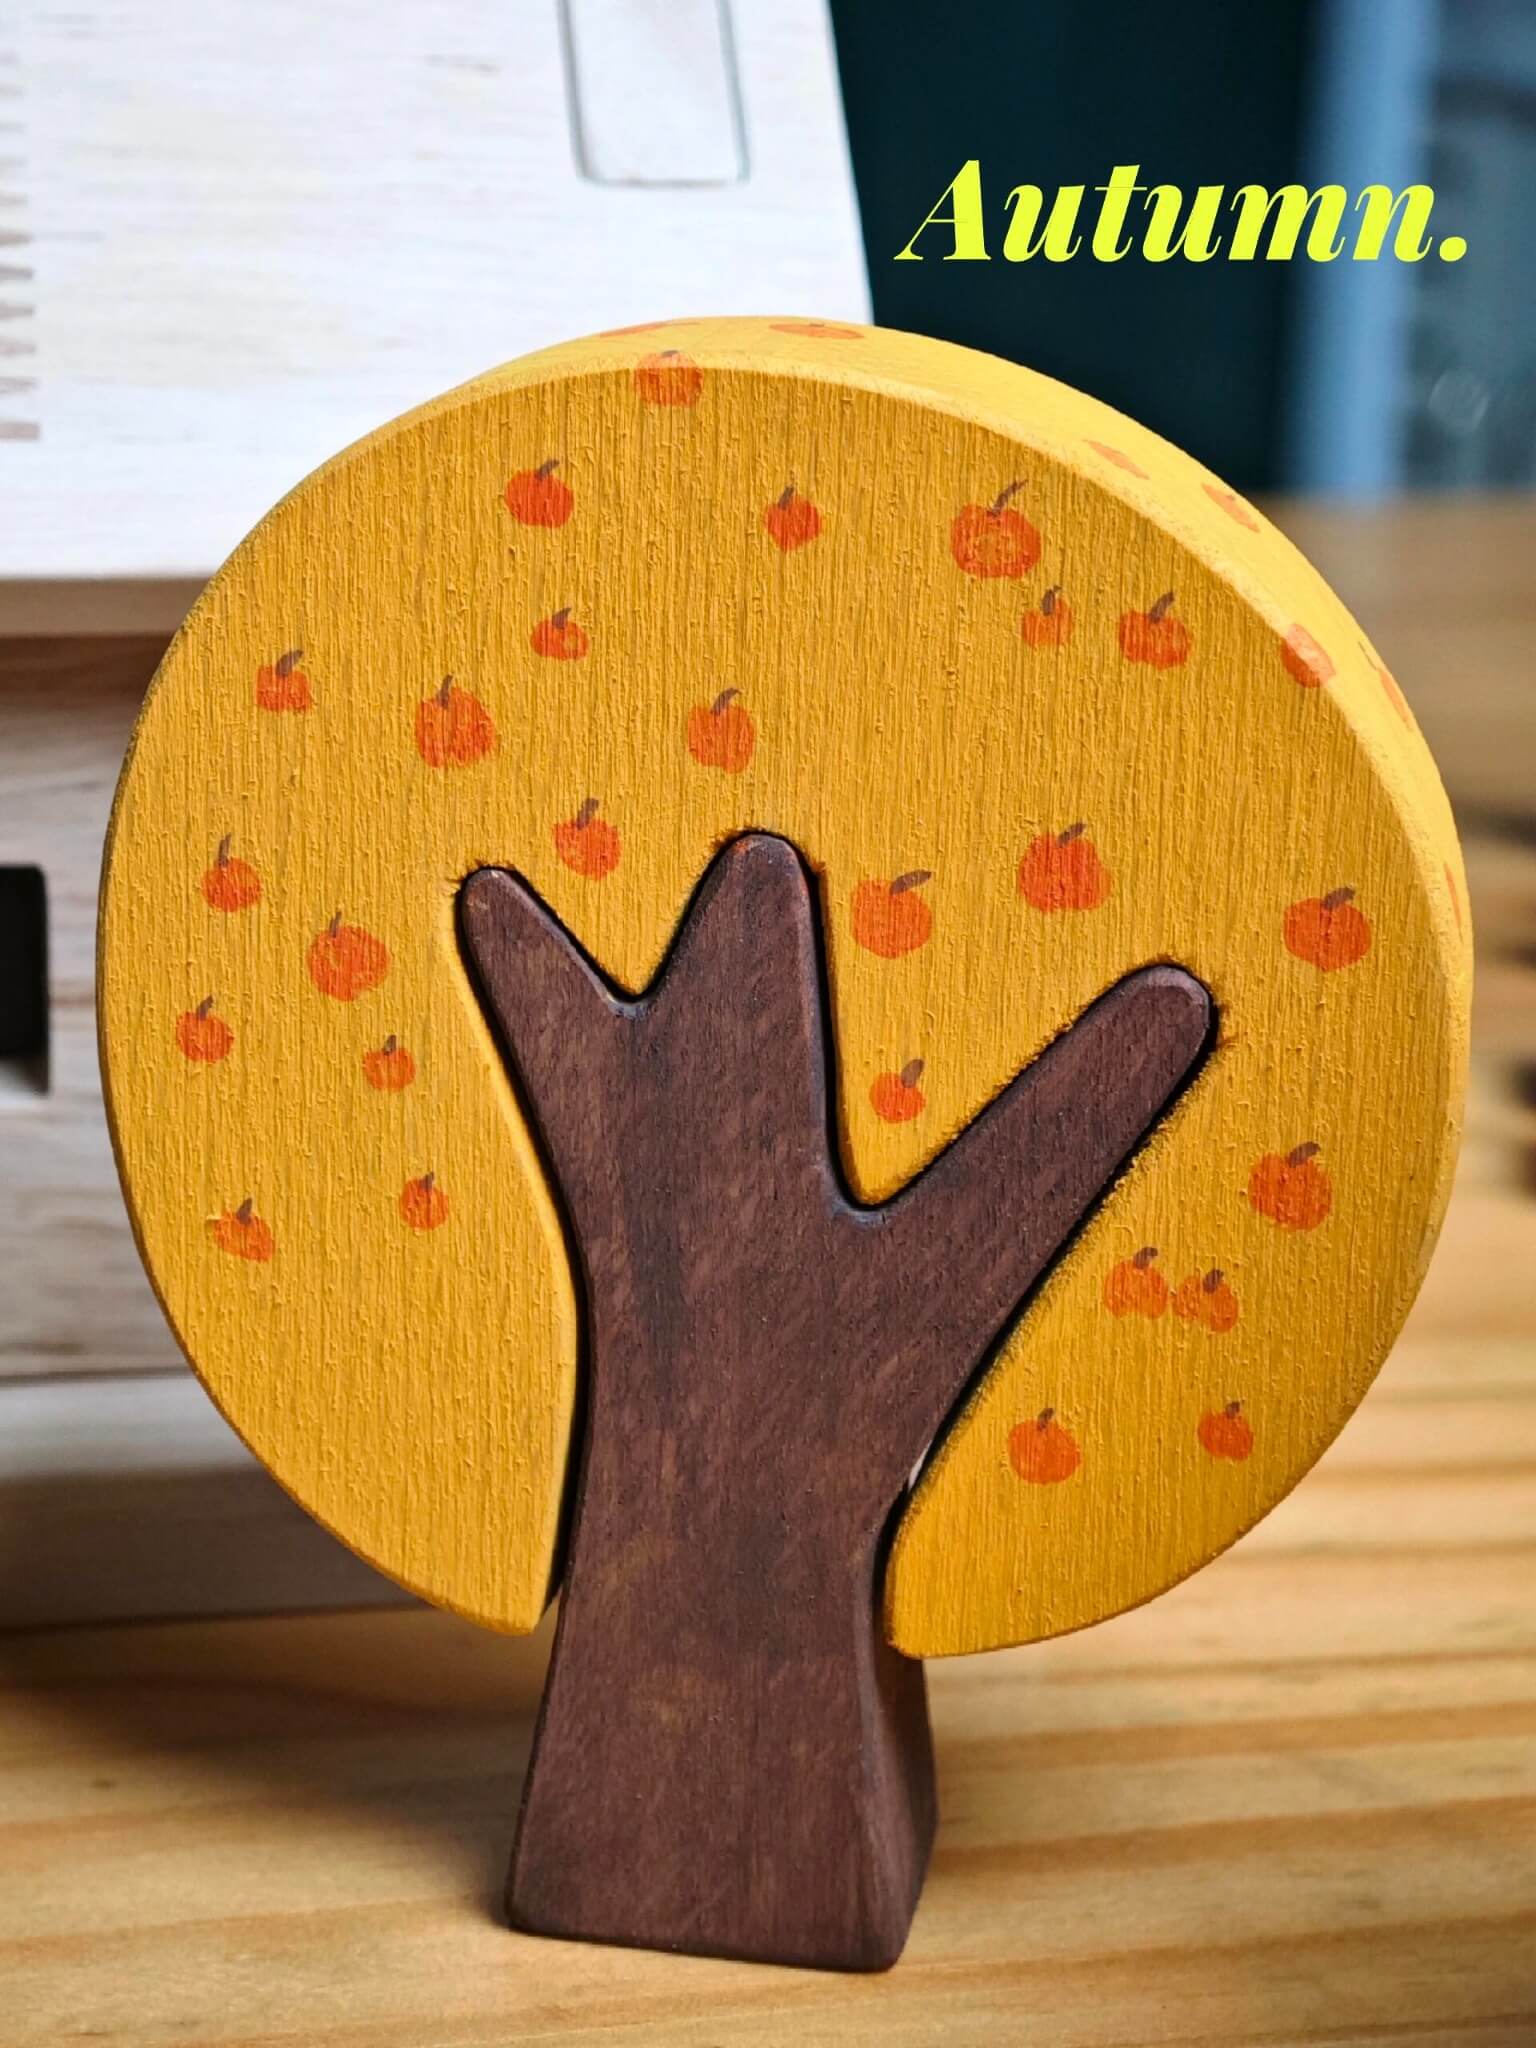
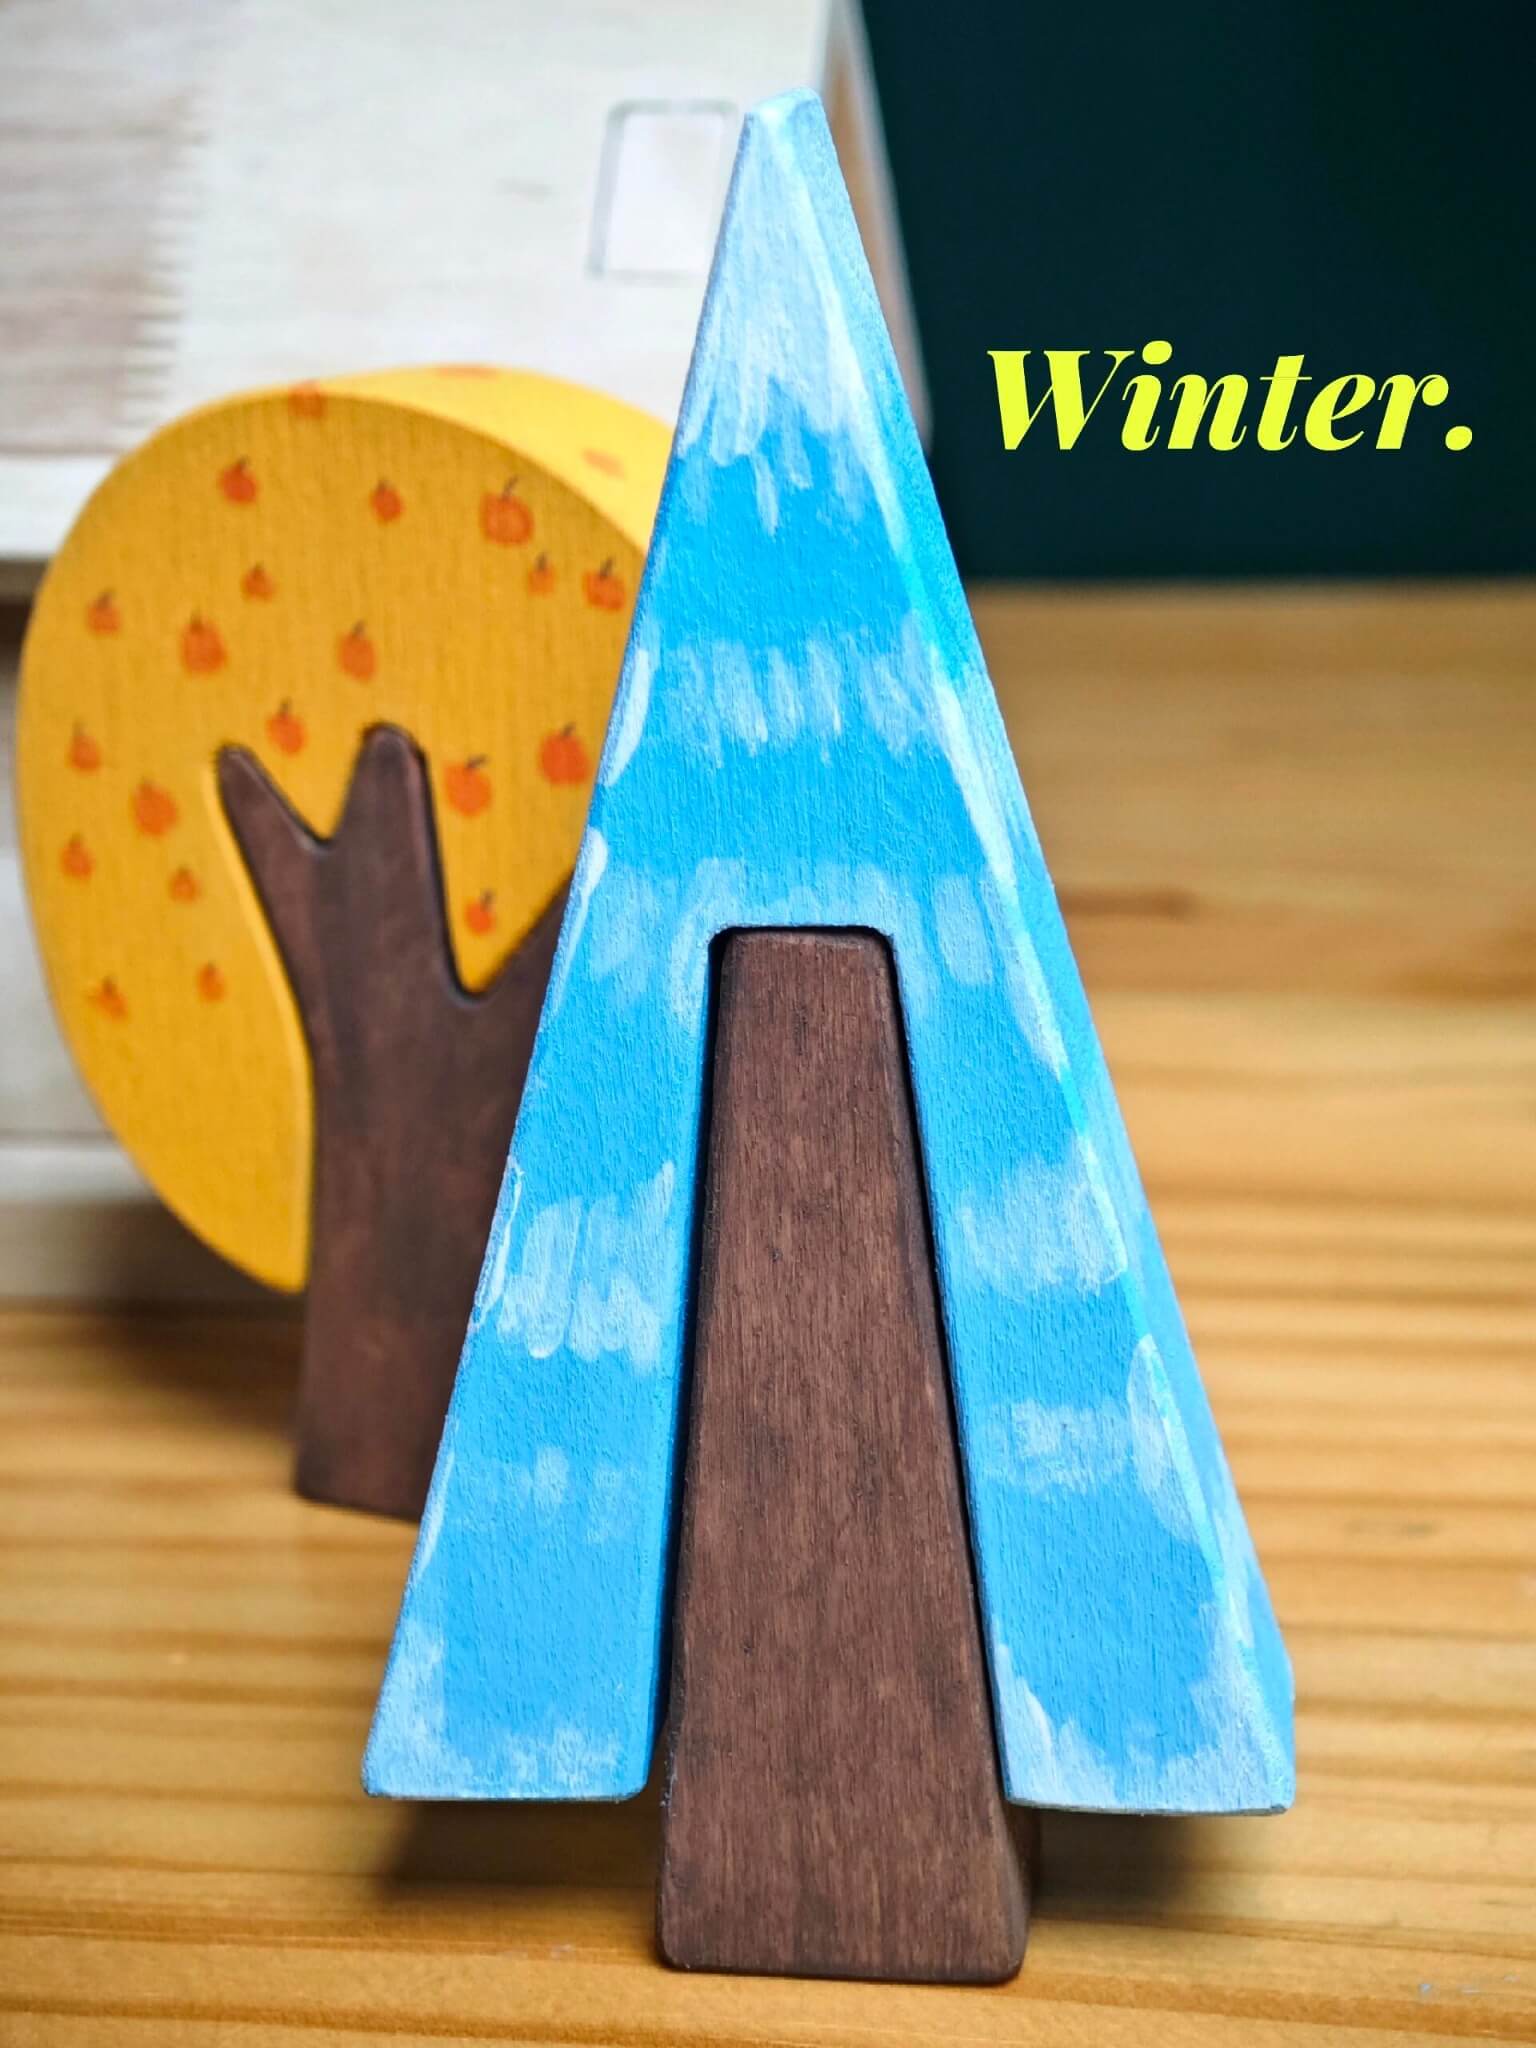
Easy seasonal palettes:
🌱 Spring — Fresh Green · Soft Yellow · Cream
☀️ Summer — Teal · Turquoise · Deep Green
🍂 Autumn — Mustard · Orange · Burgundy · Brown
❄️ Winter — Ice Blue · White · Deep Green
Turn four individual ideas into one little collection.
Once you have the seasonal colors in mind, try combining several trees into one group. Different shapes and different palettes can still feel connected when they are displayed together.
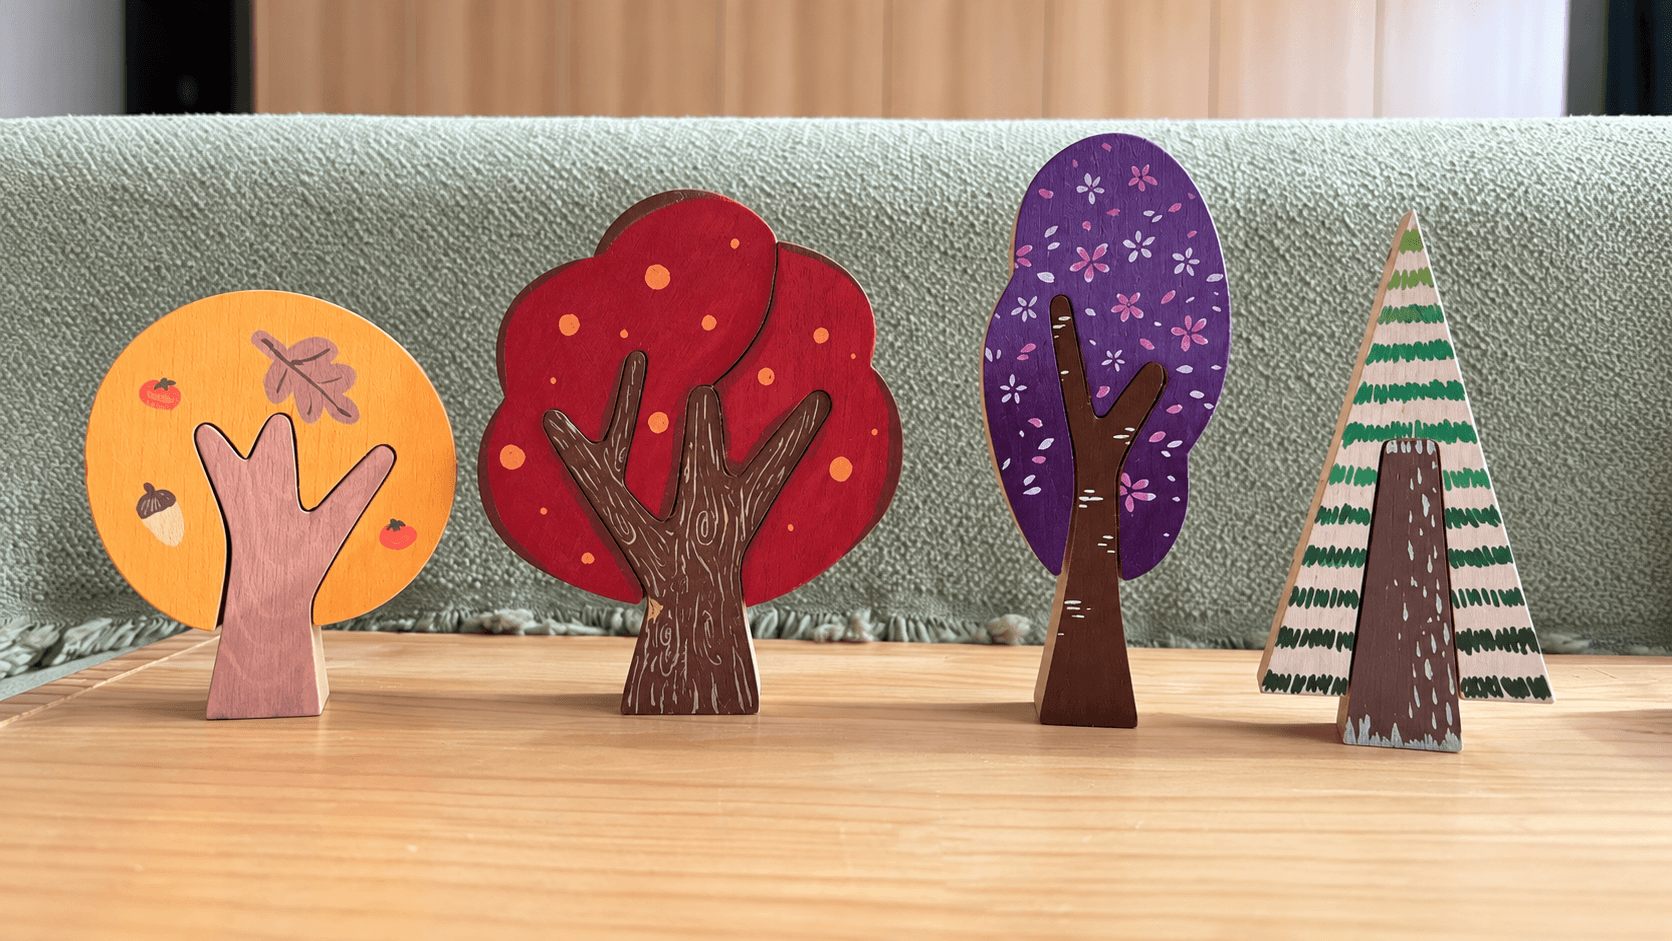

Mix different wooden tree shapes.
Rounded canopies, layered trees and tall pines all give you a different surface to work with. Put them together instead of trying to make every tree match.
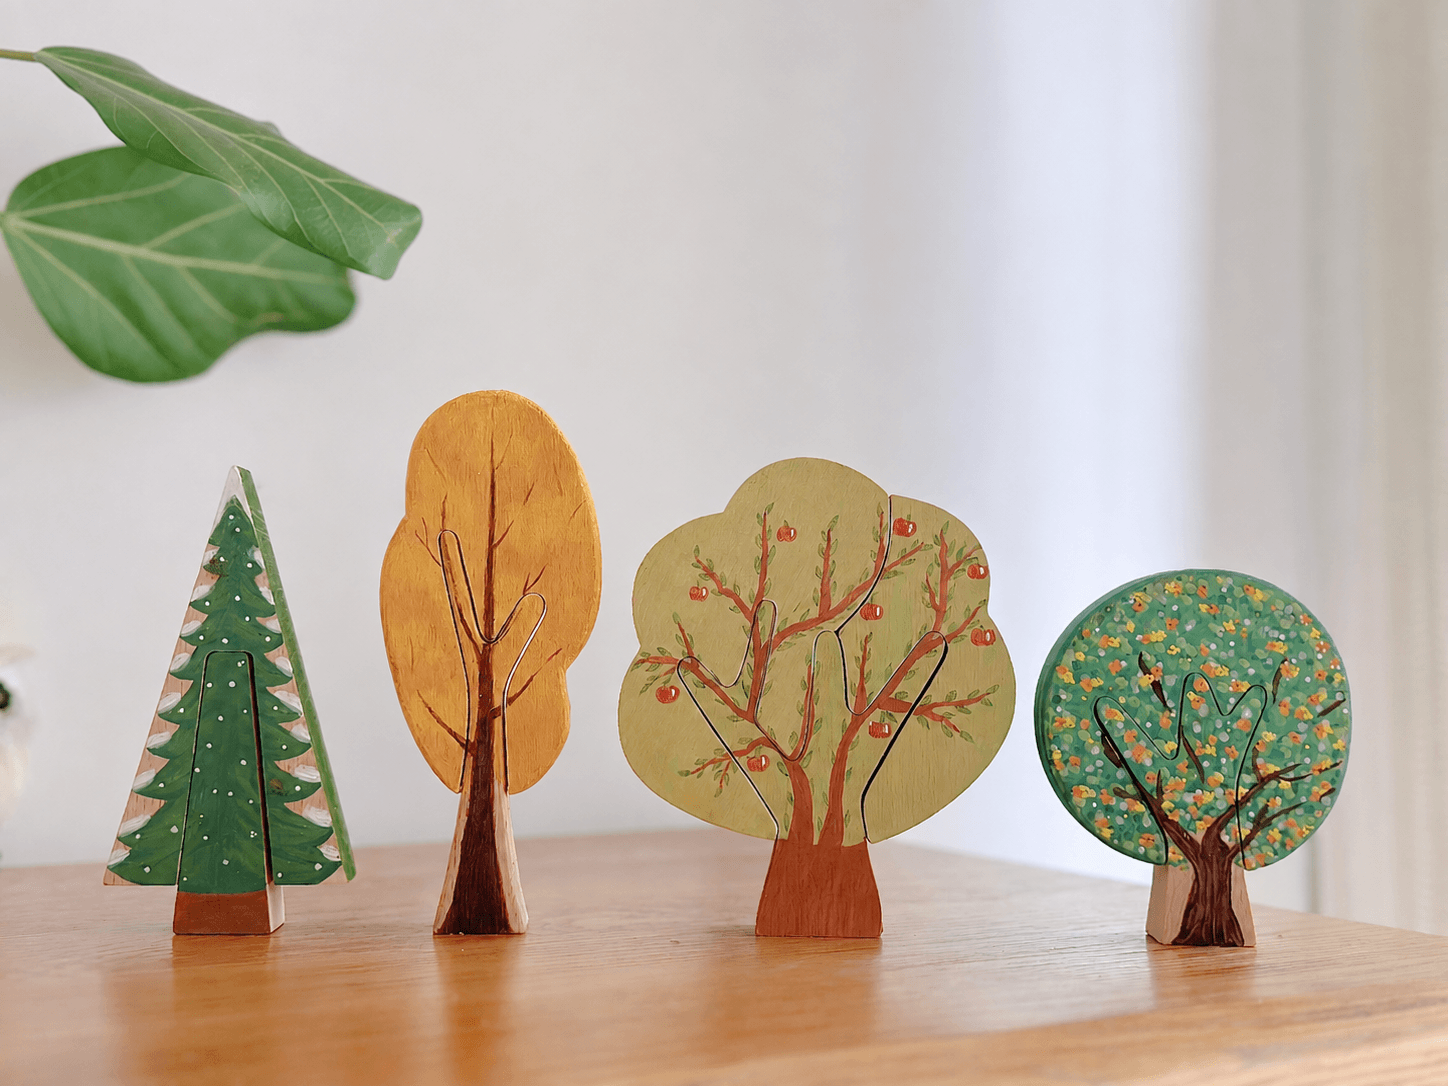
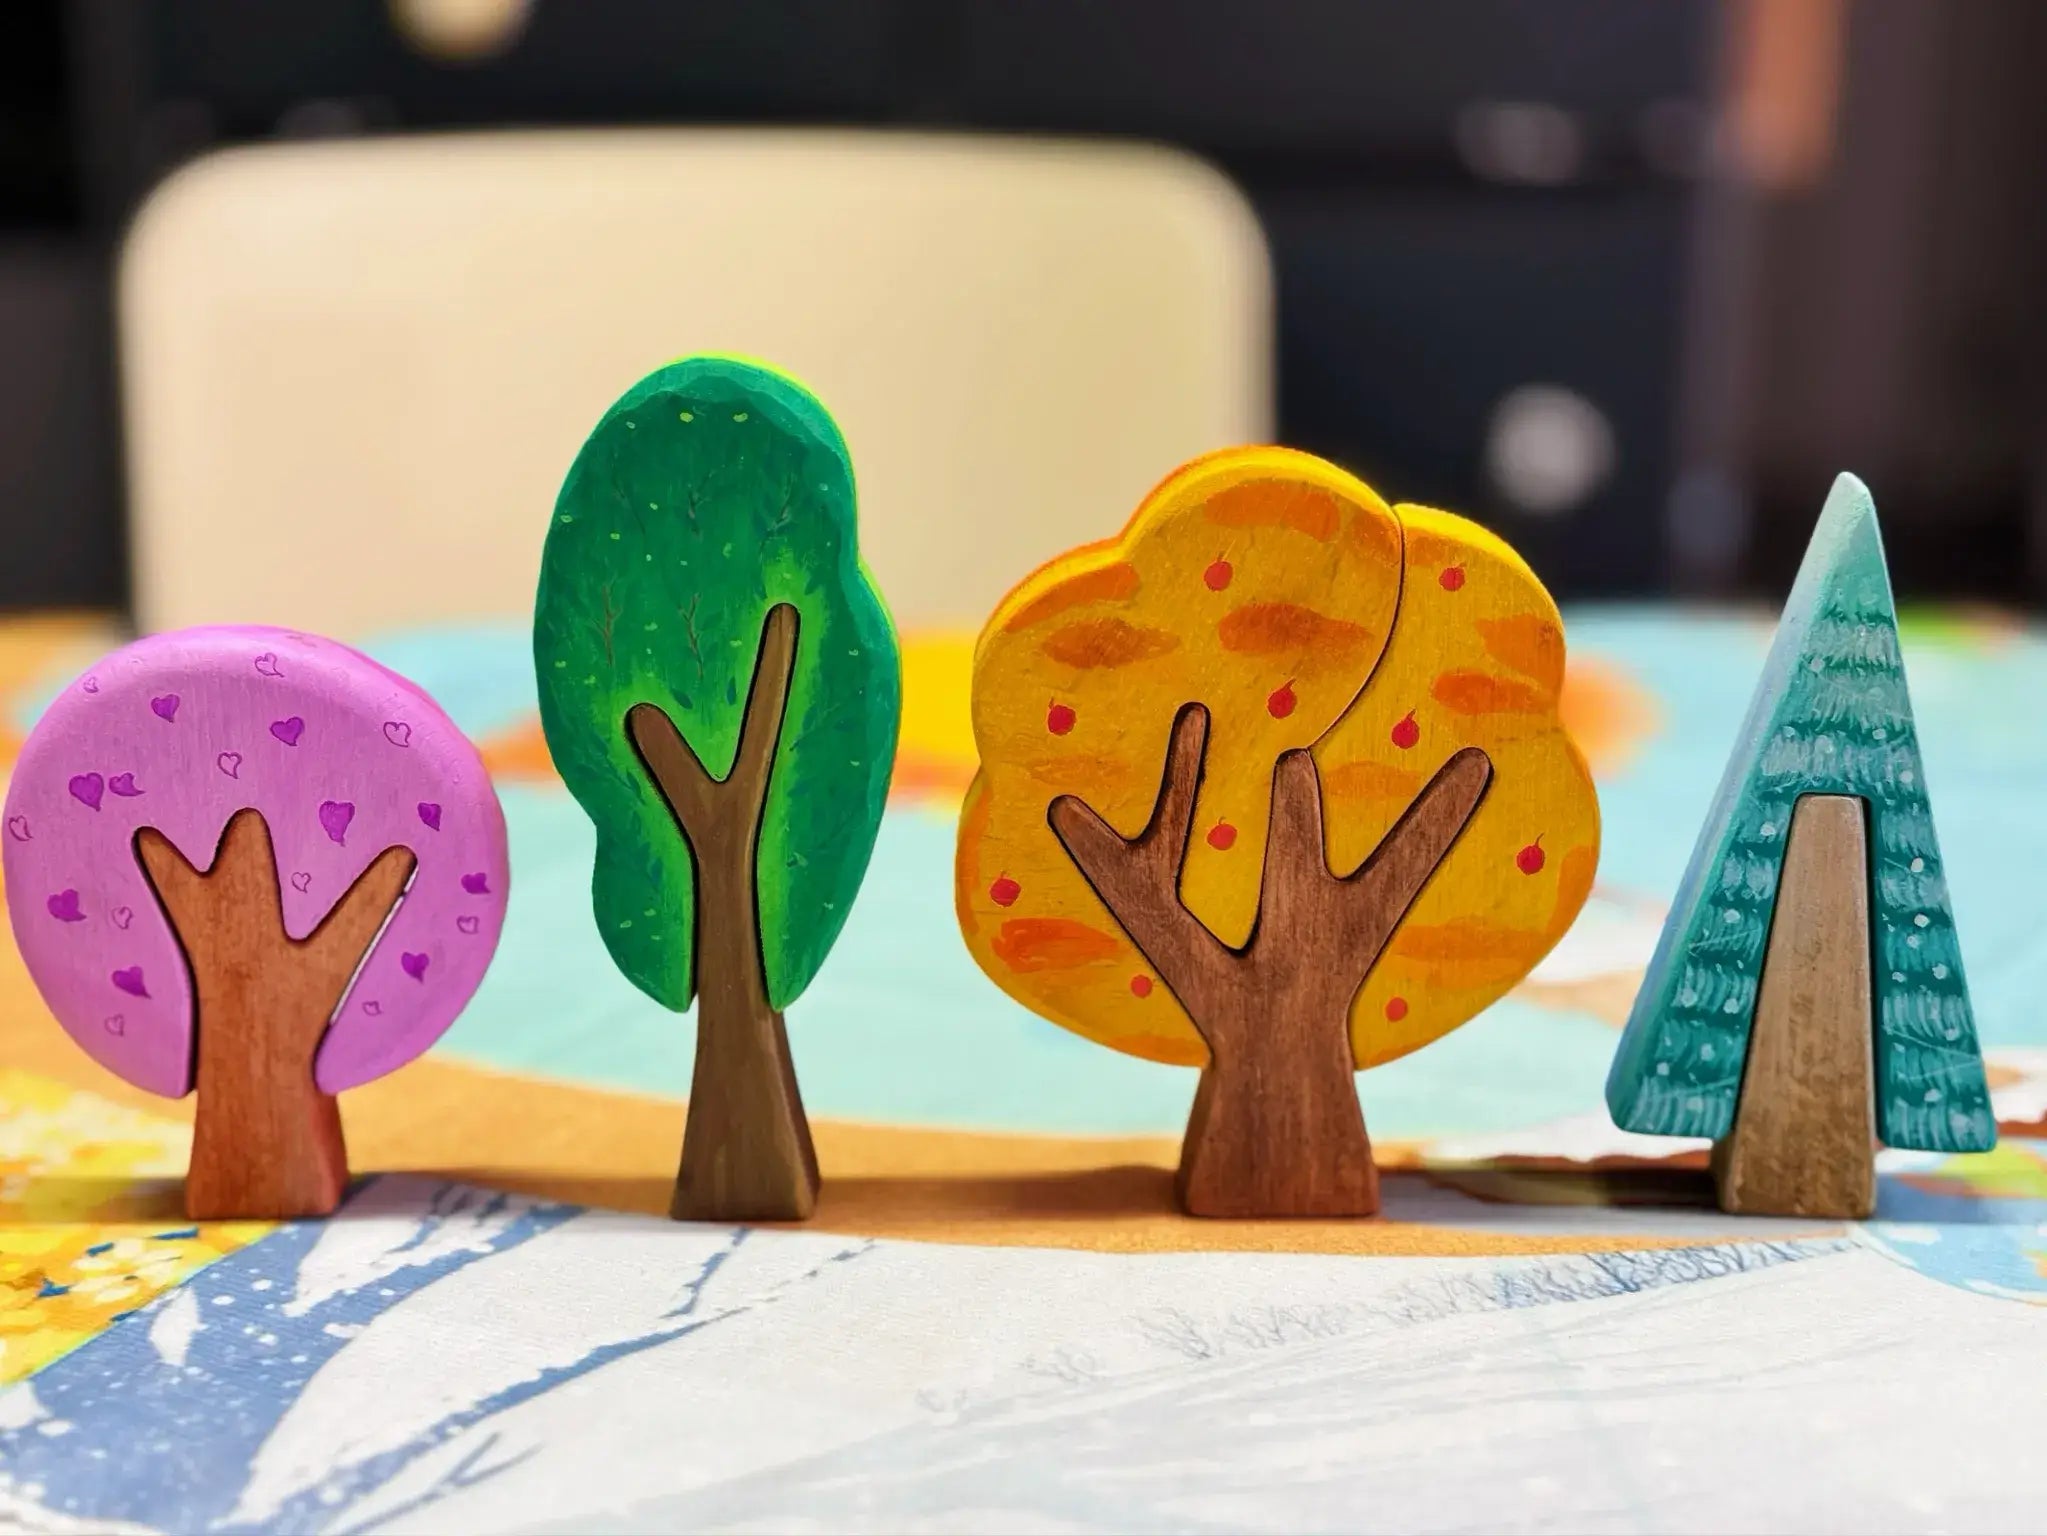
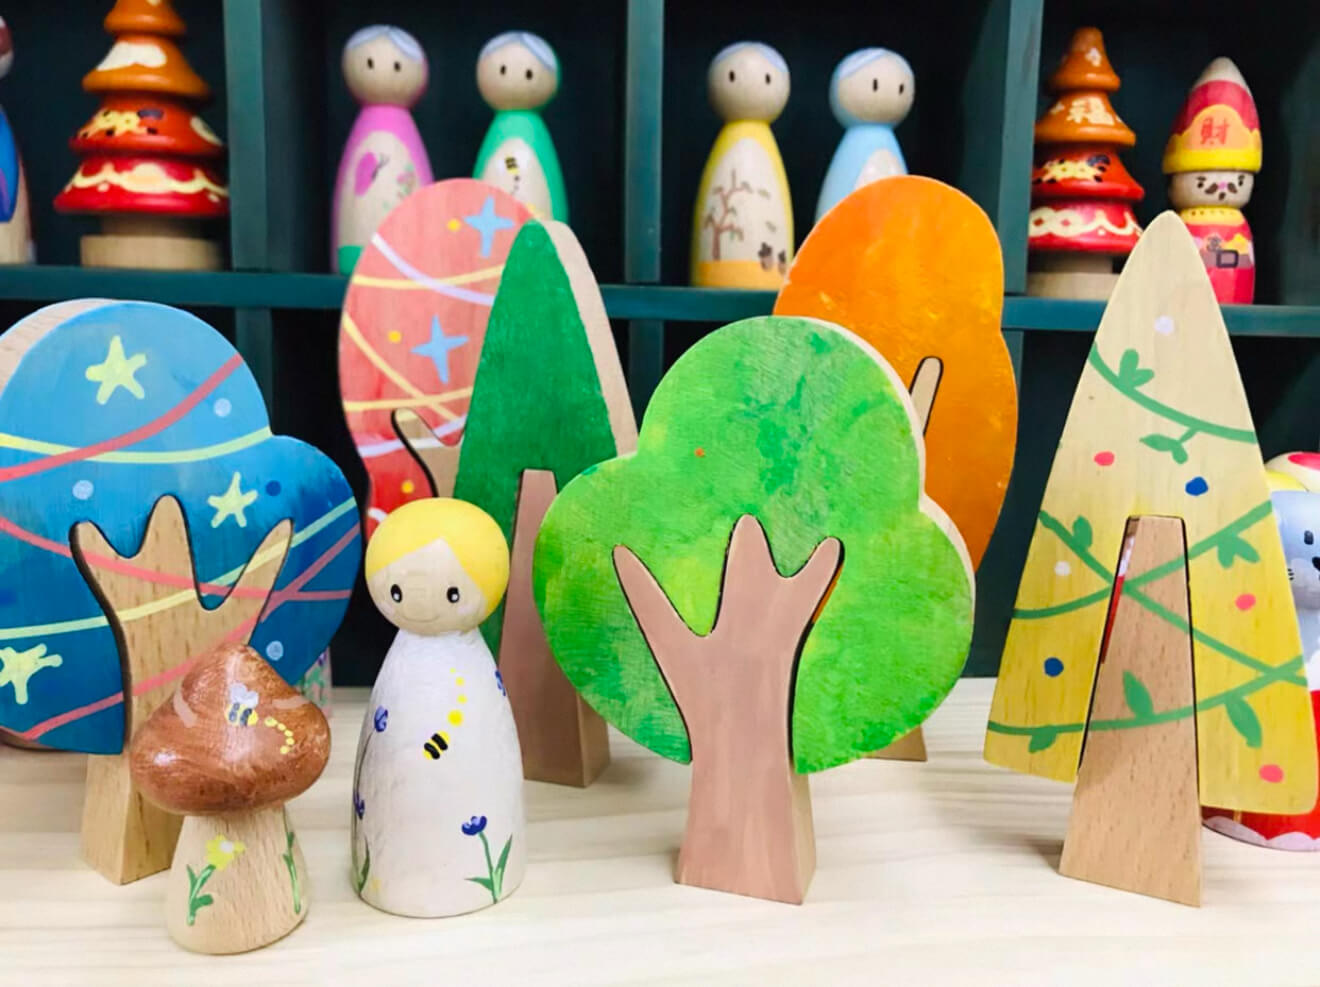
Build a colorful little forest.
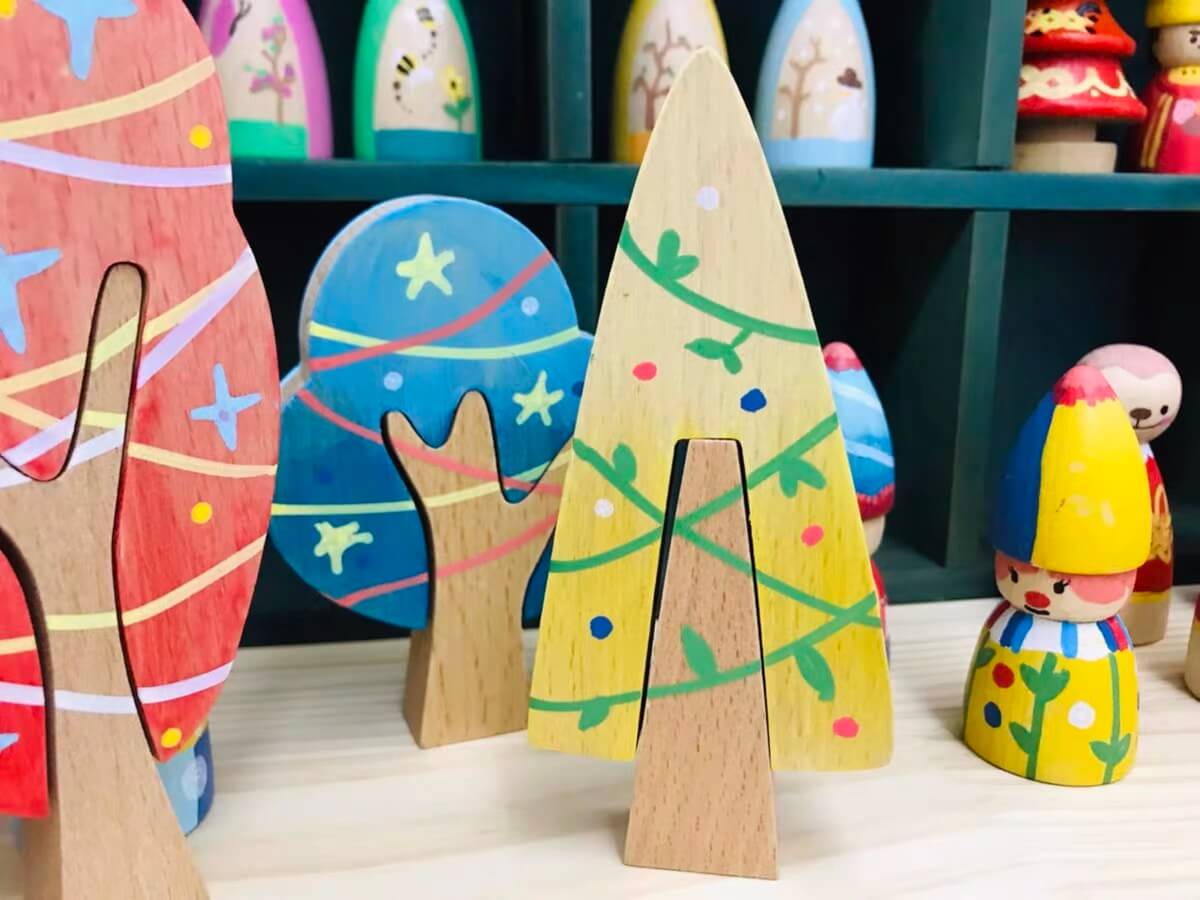
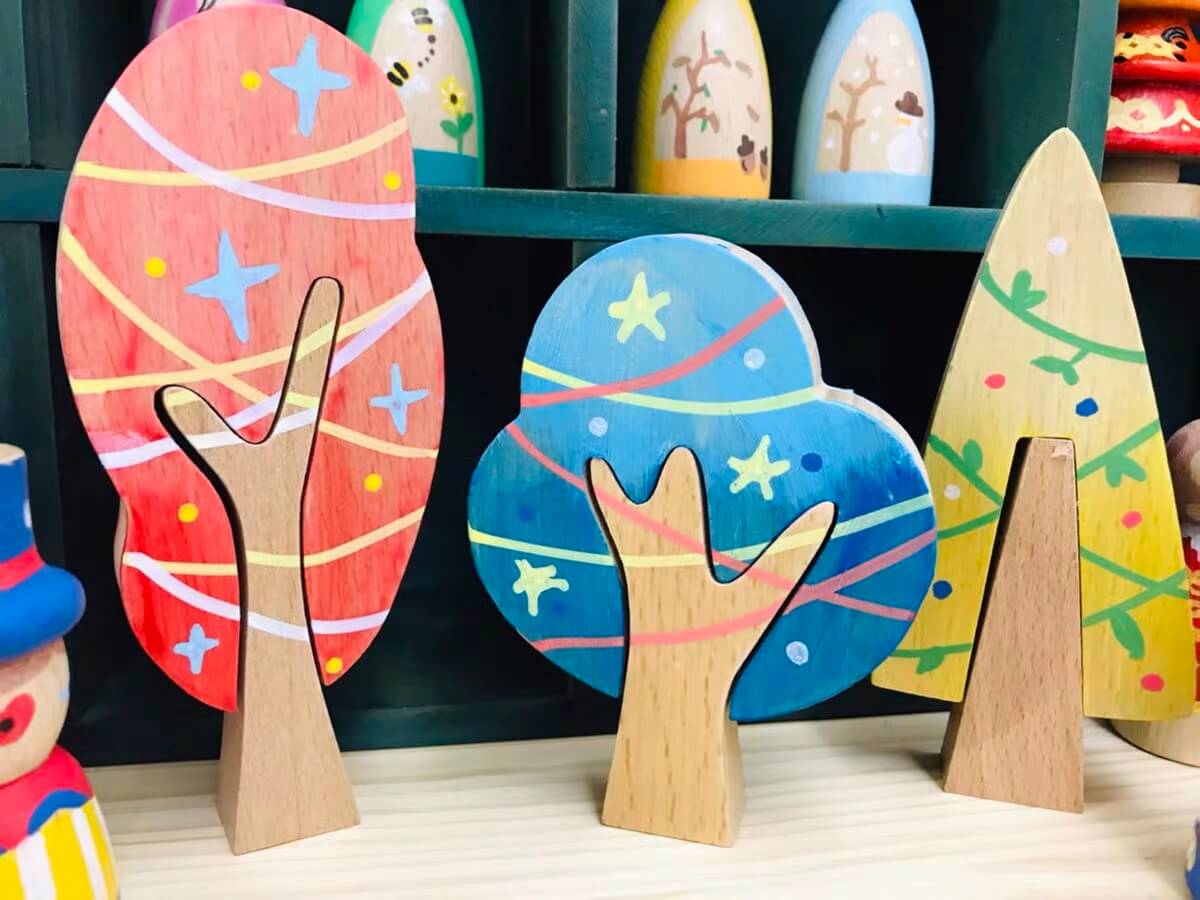
Your trees do not need to match. A small forest usually looks more interesting when one tree is tall, another is round, one is bright, and another is much quieter.
Repeat one or two colors across the group and everything will still feel connected.
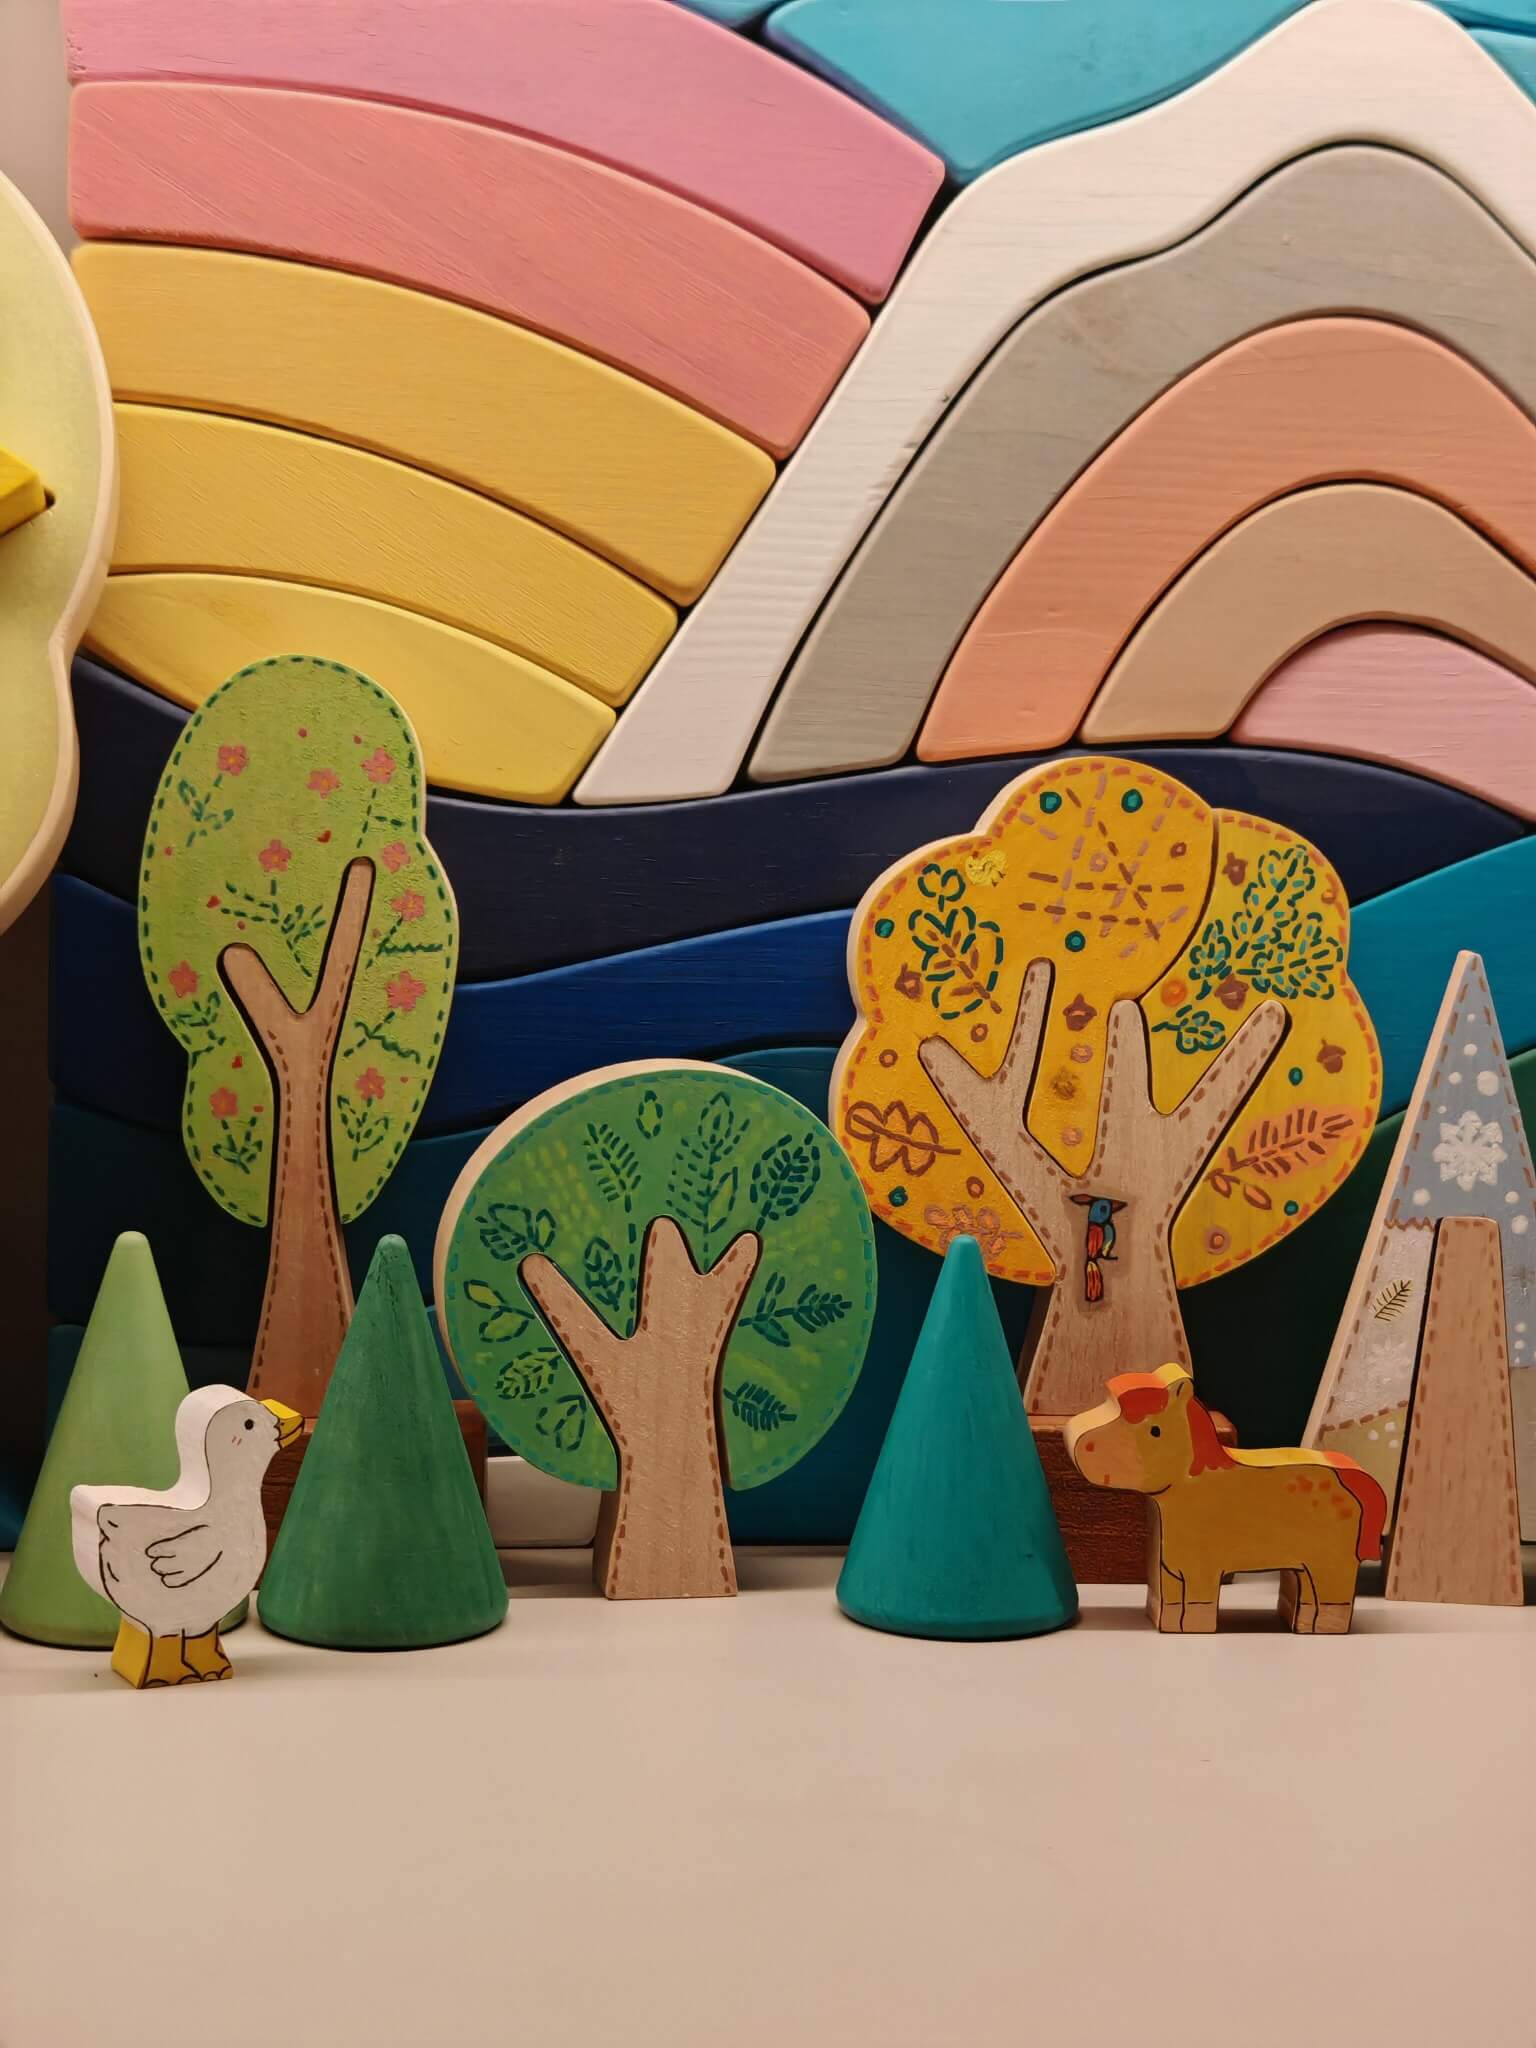

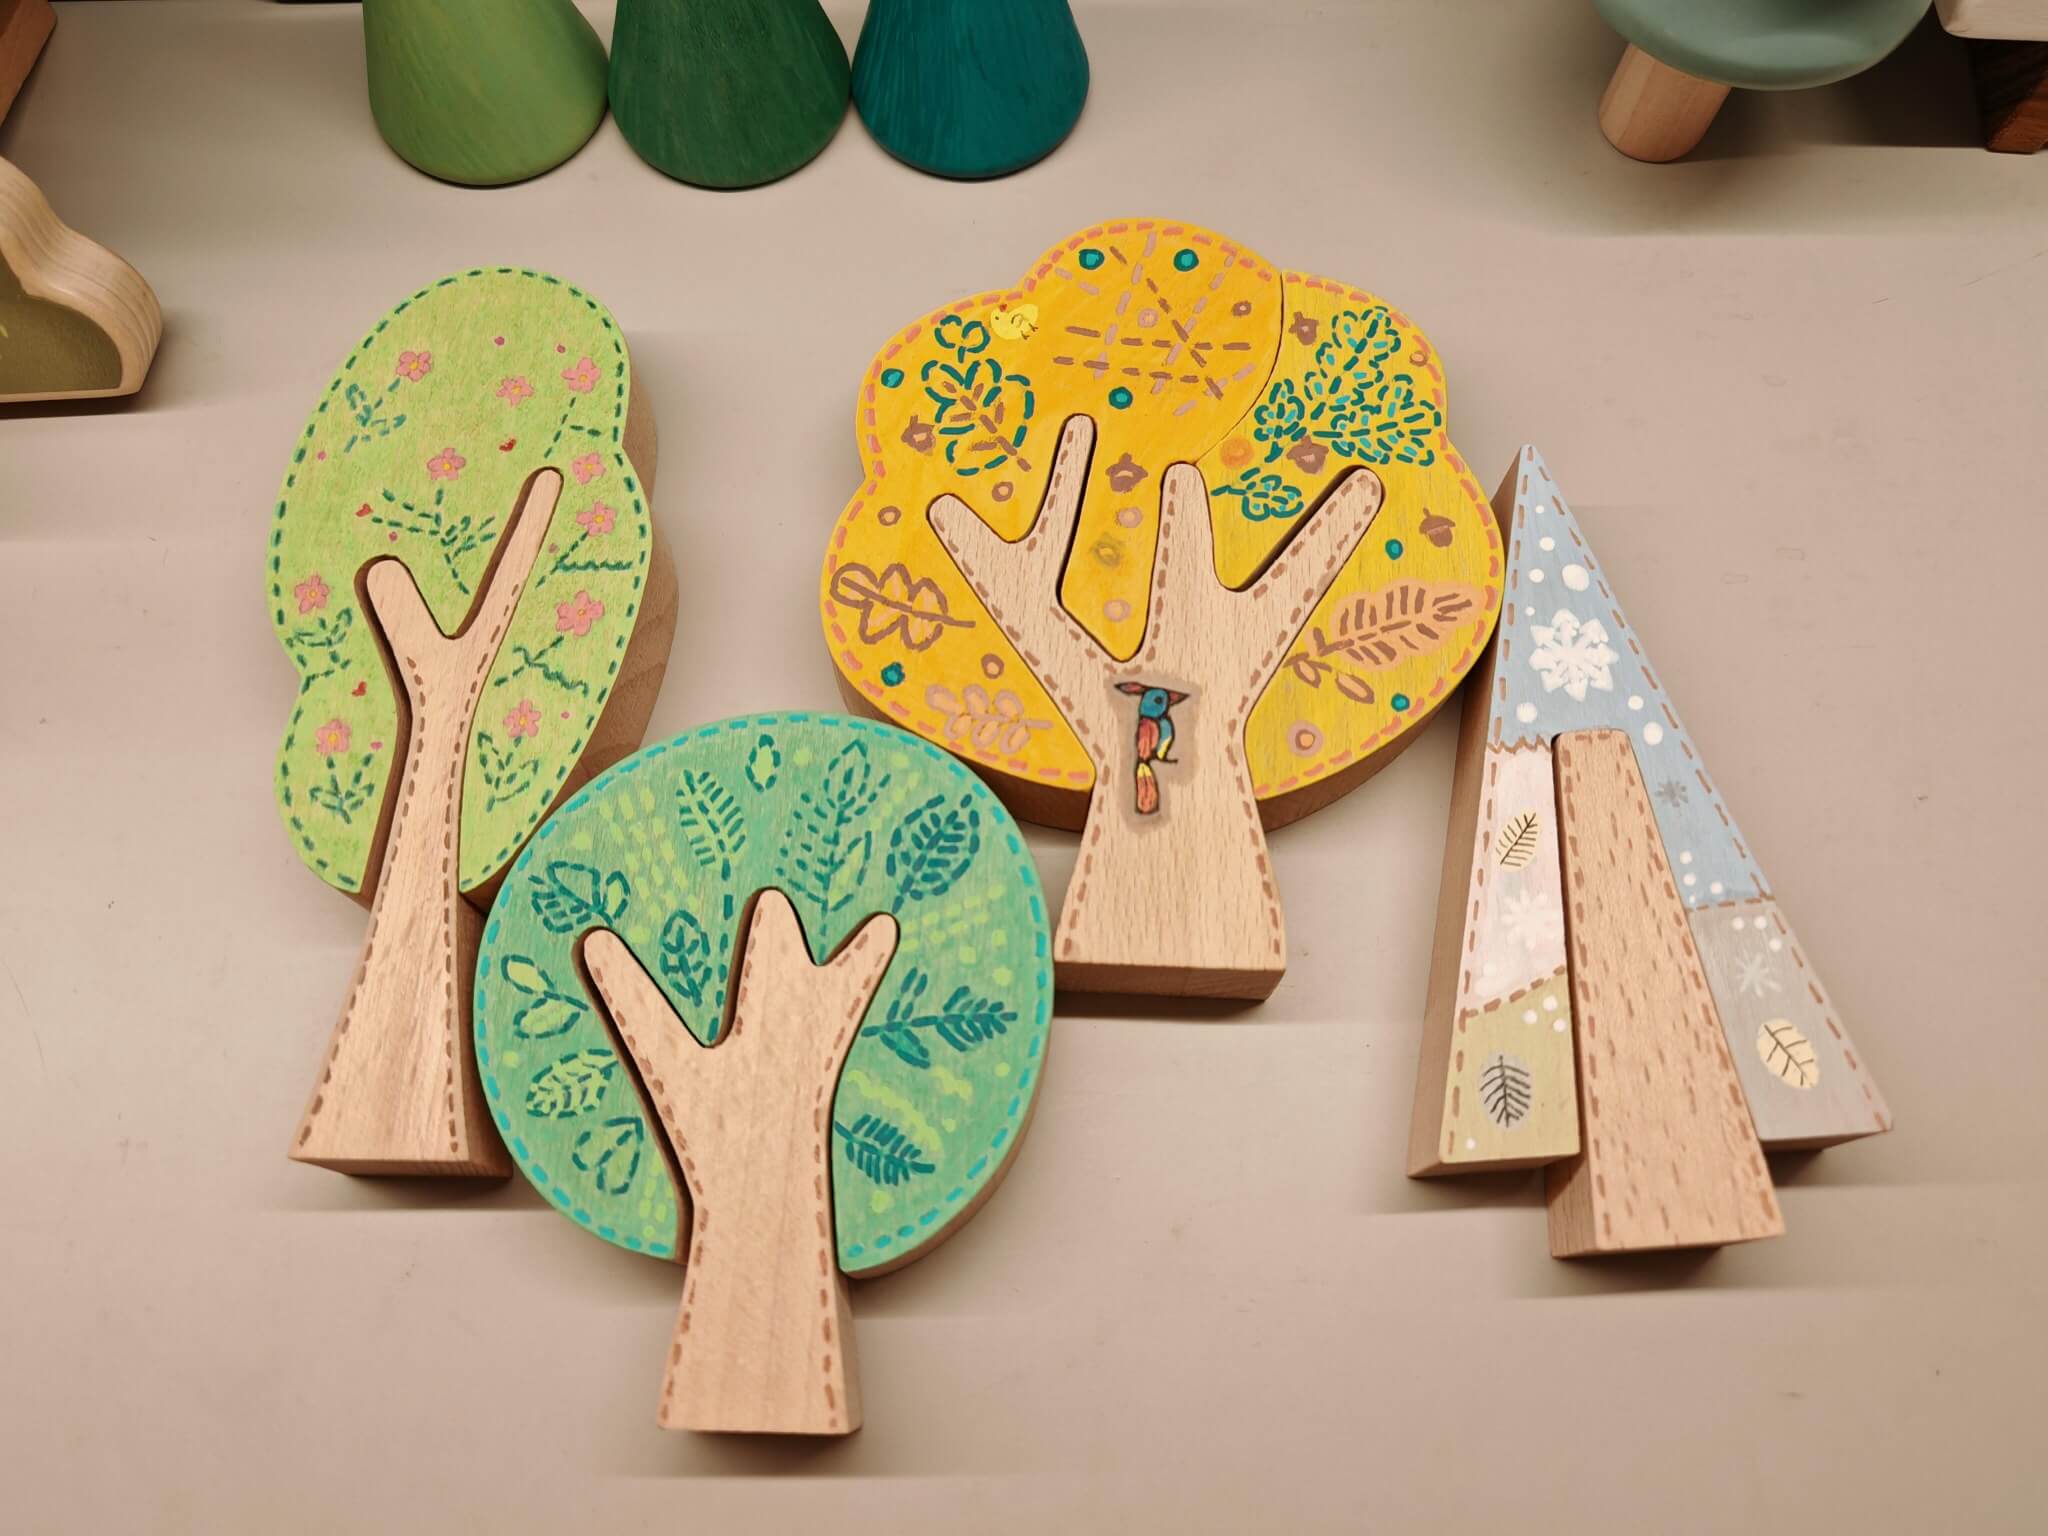
Give the finished trees somewhere to live.
A shelf, desk, windowsill or small nature scene turns the finished pieces into decor instead of putting them straight back into a craft box.
Try the 1 + 1 + 1 tree trick 🎨
One main color, one trunk color and one repeated detail are often enough.
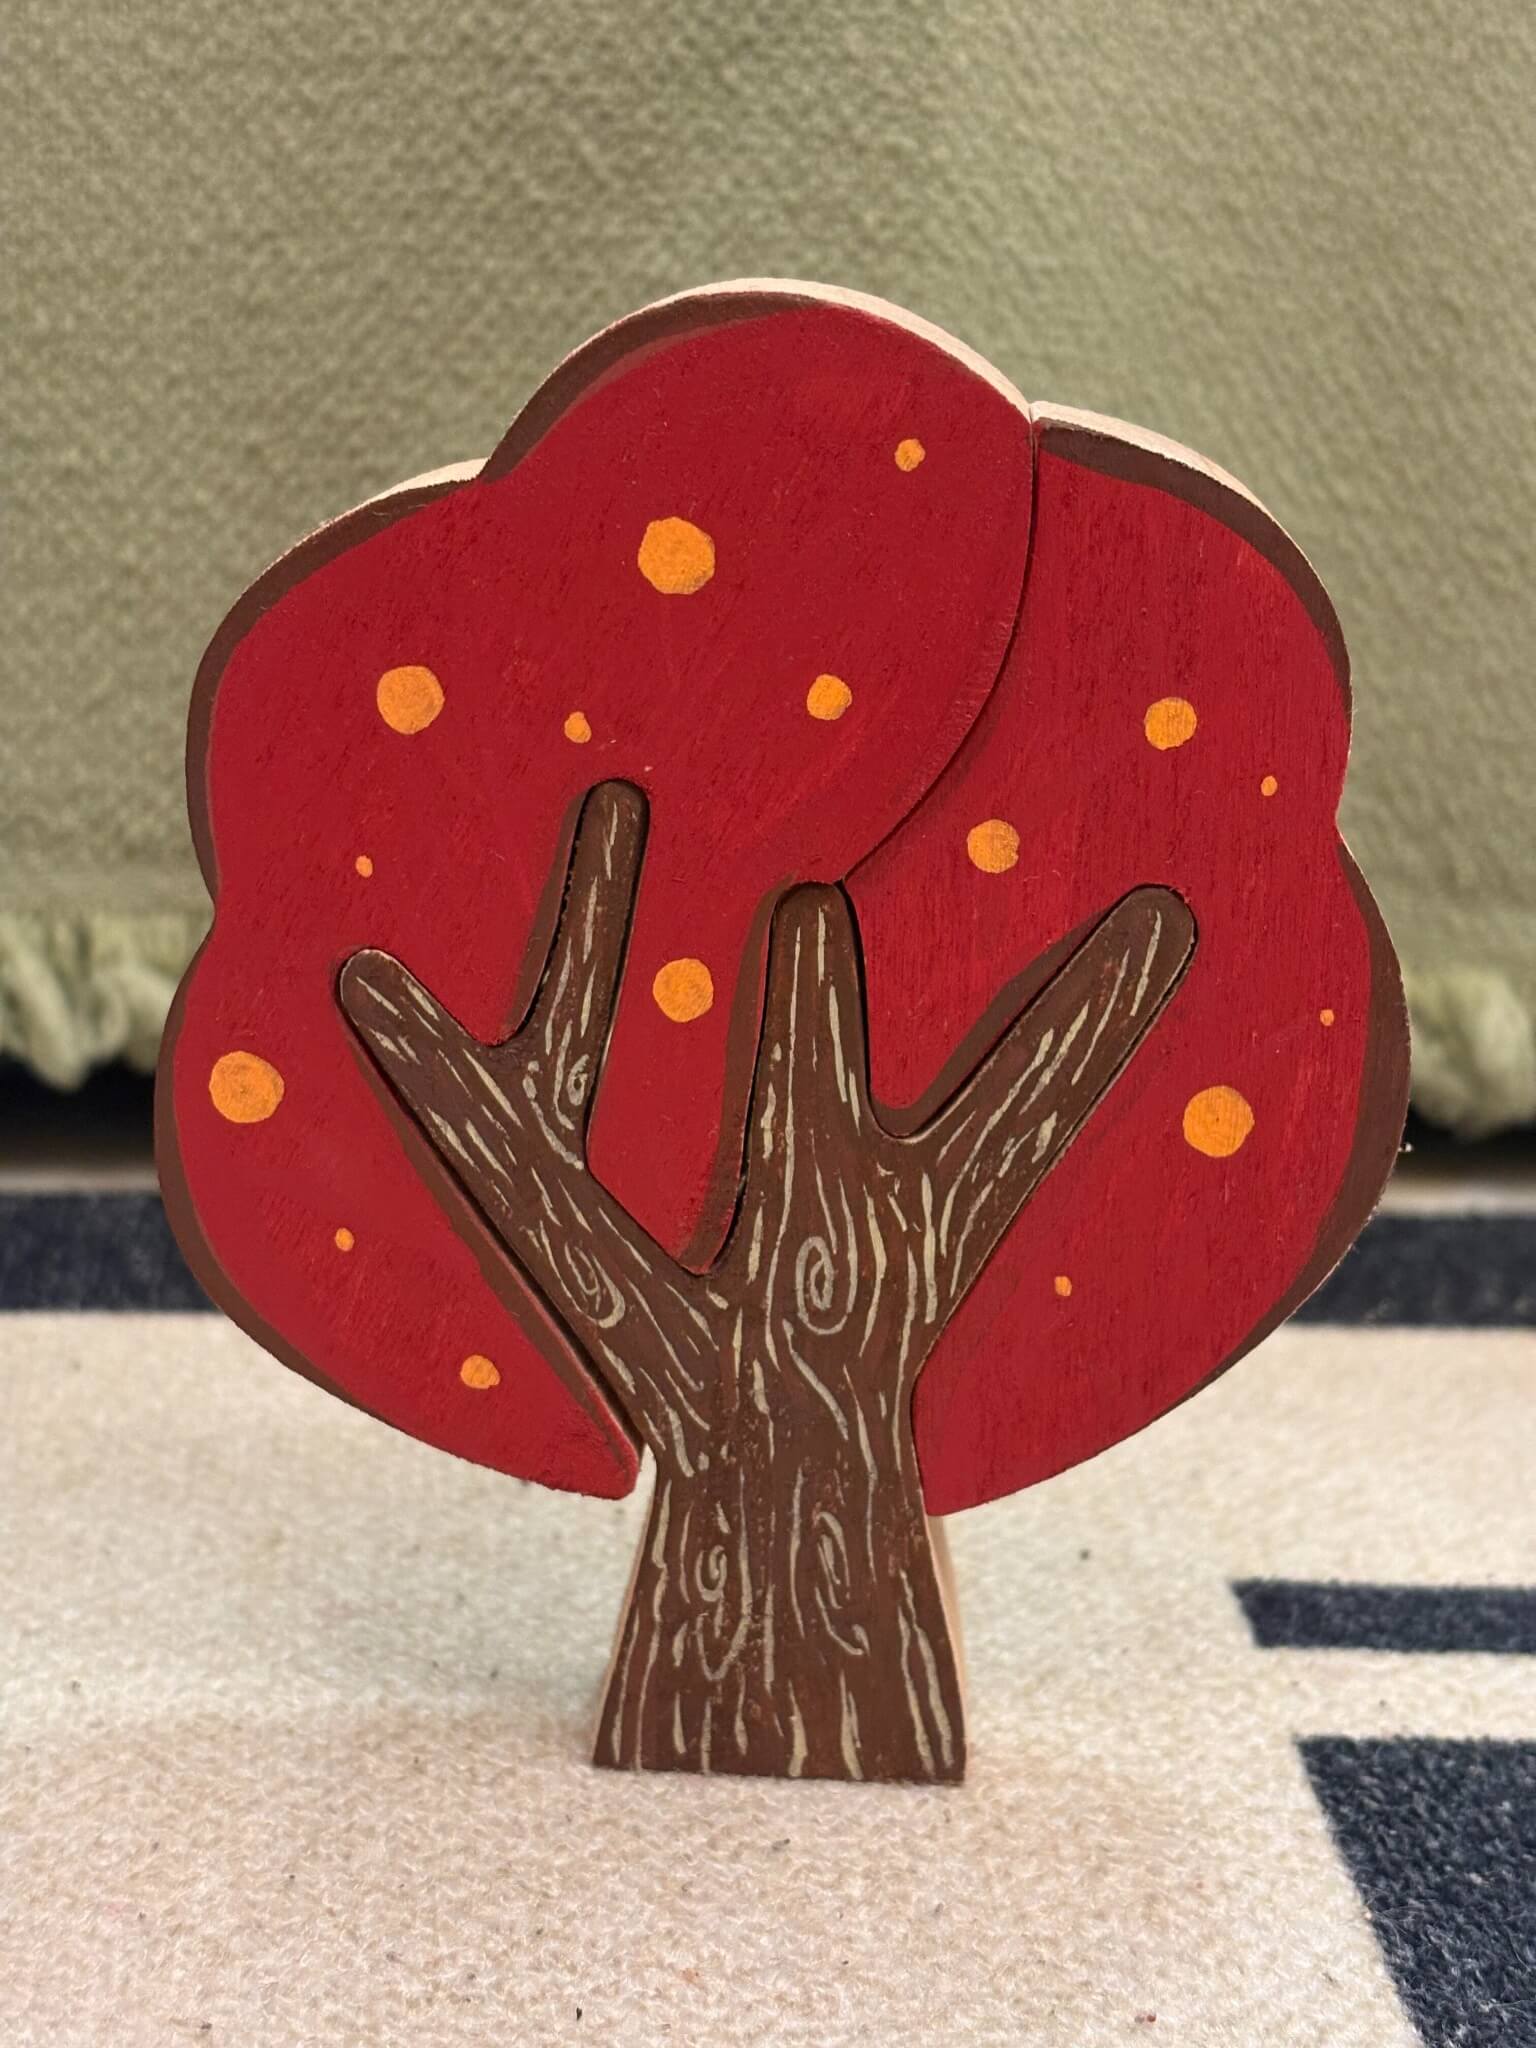
1 · Pick a main color
Let this cover most of the tree.
2 · Choose the trunk
Brown works, but cream, orange, yellow or another unexpected color can work too.
3 · Repeat one little detail
Dots, leaves, stars, lines, tiny flowers or simple brush marks.
Real Customer Creations
Perfect lighting? Optional.
Real painting ideas? Definitely.
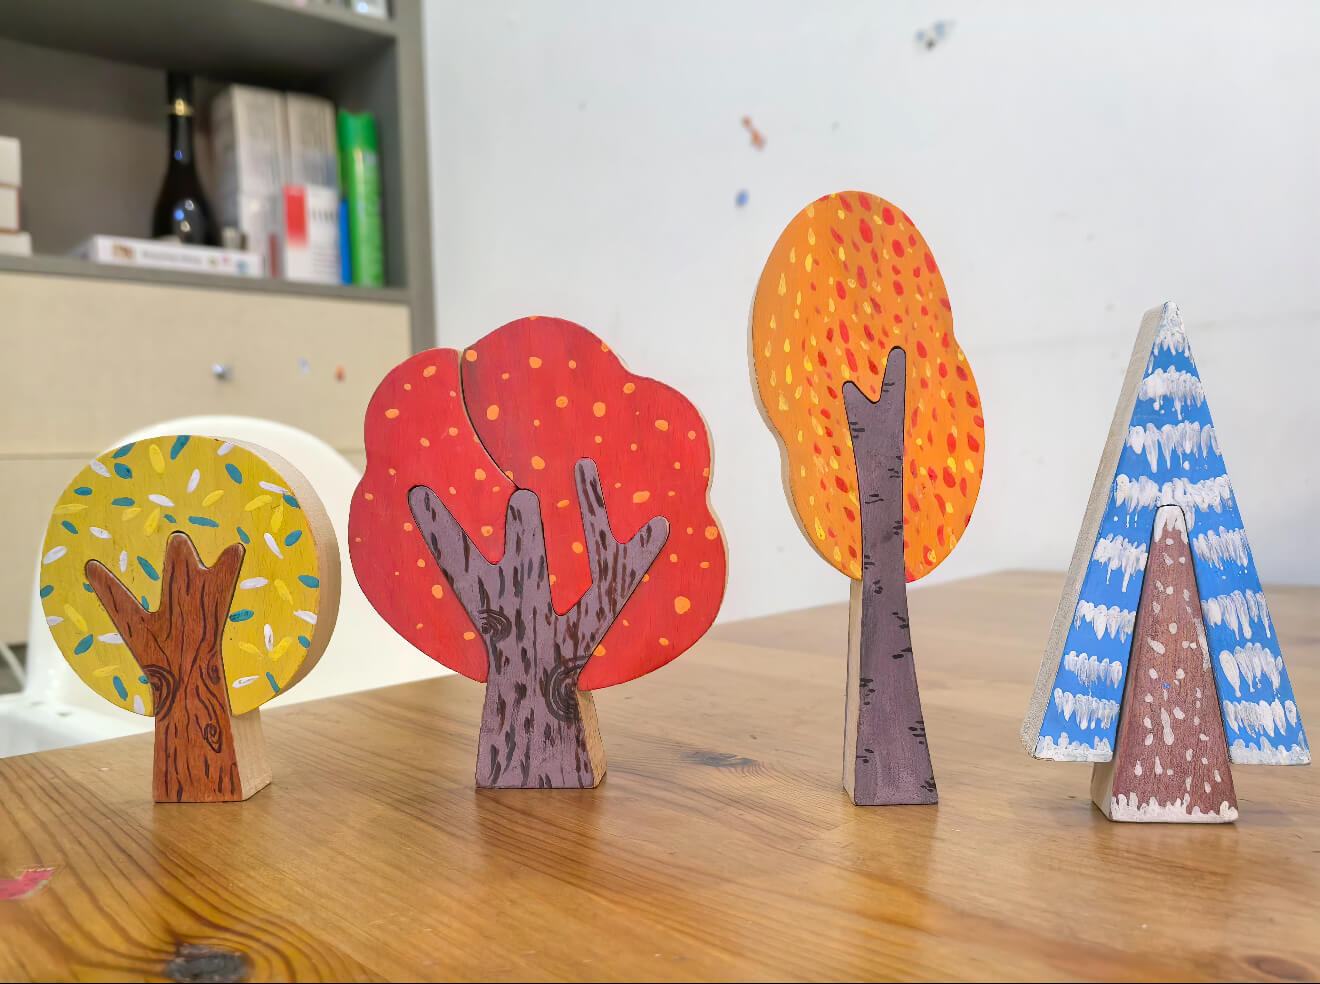
These photos are less polished on purpose. They show what the trees really look like on normal tables, shelves and everyday craft sessions.
Simple colors, real results.
Strong color and a few simple details are often enough. These customer pieces are useful because you can actually imagine making them yourself.


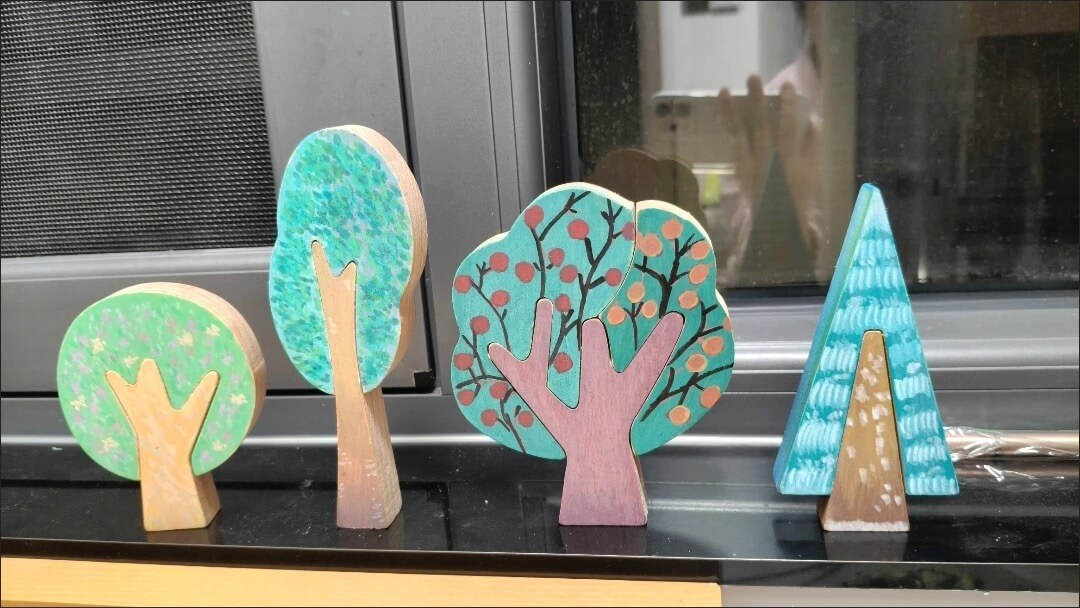
Craft tables, windowsills & works in progress
Not every useful inspiration photo needs to be staged. Sometimes seeing the unfinished pieces, paint nearby and a normal table is more helpful.
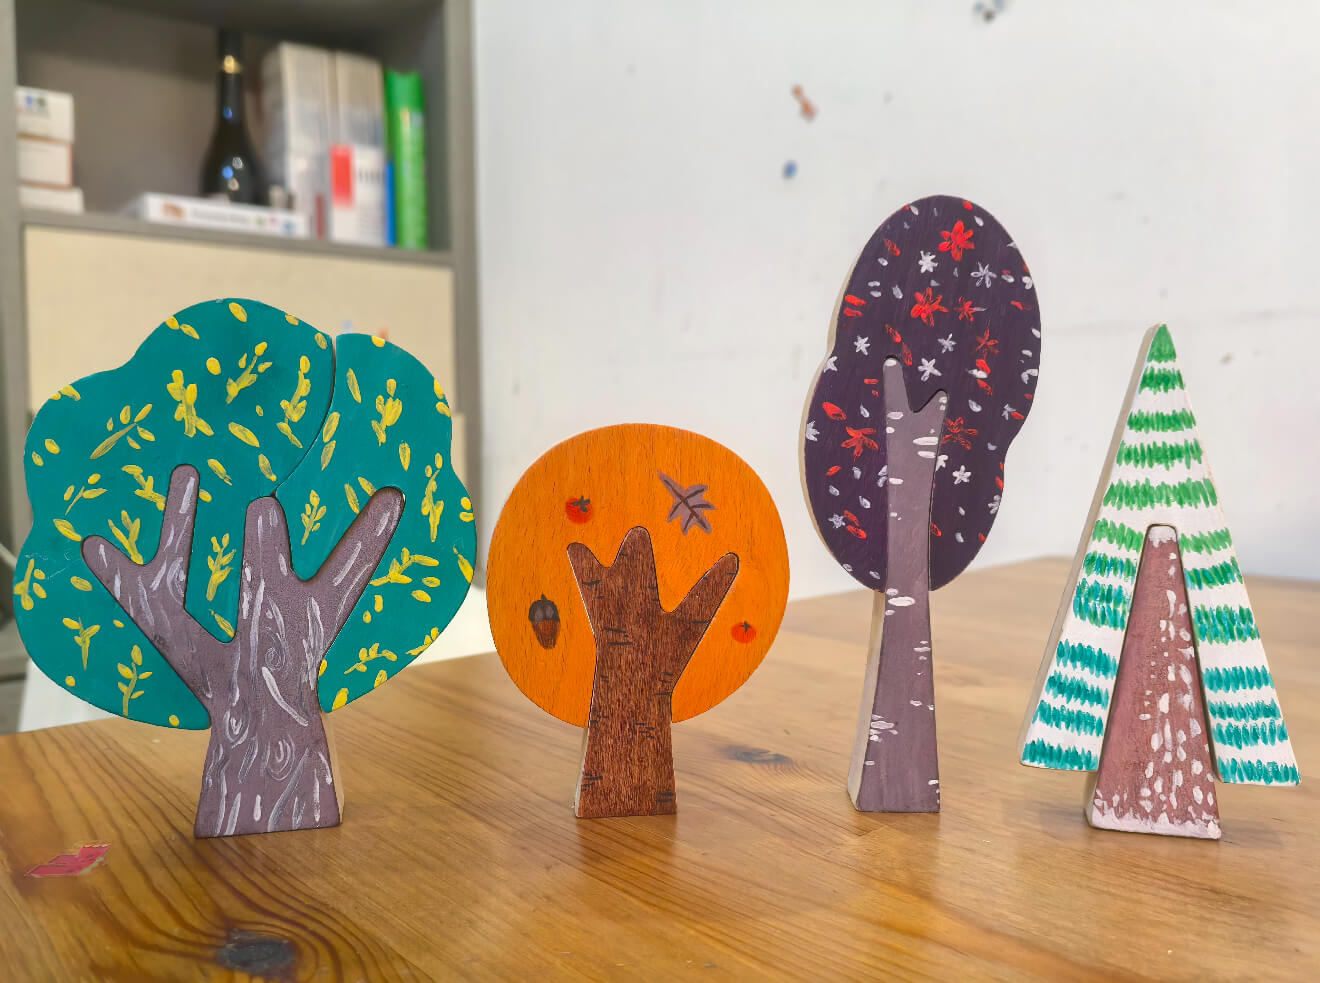
Bold patterns & finished displays
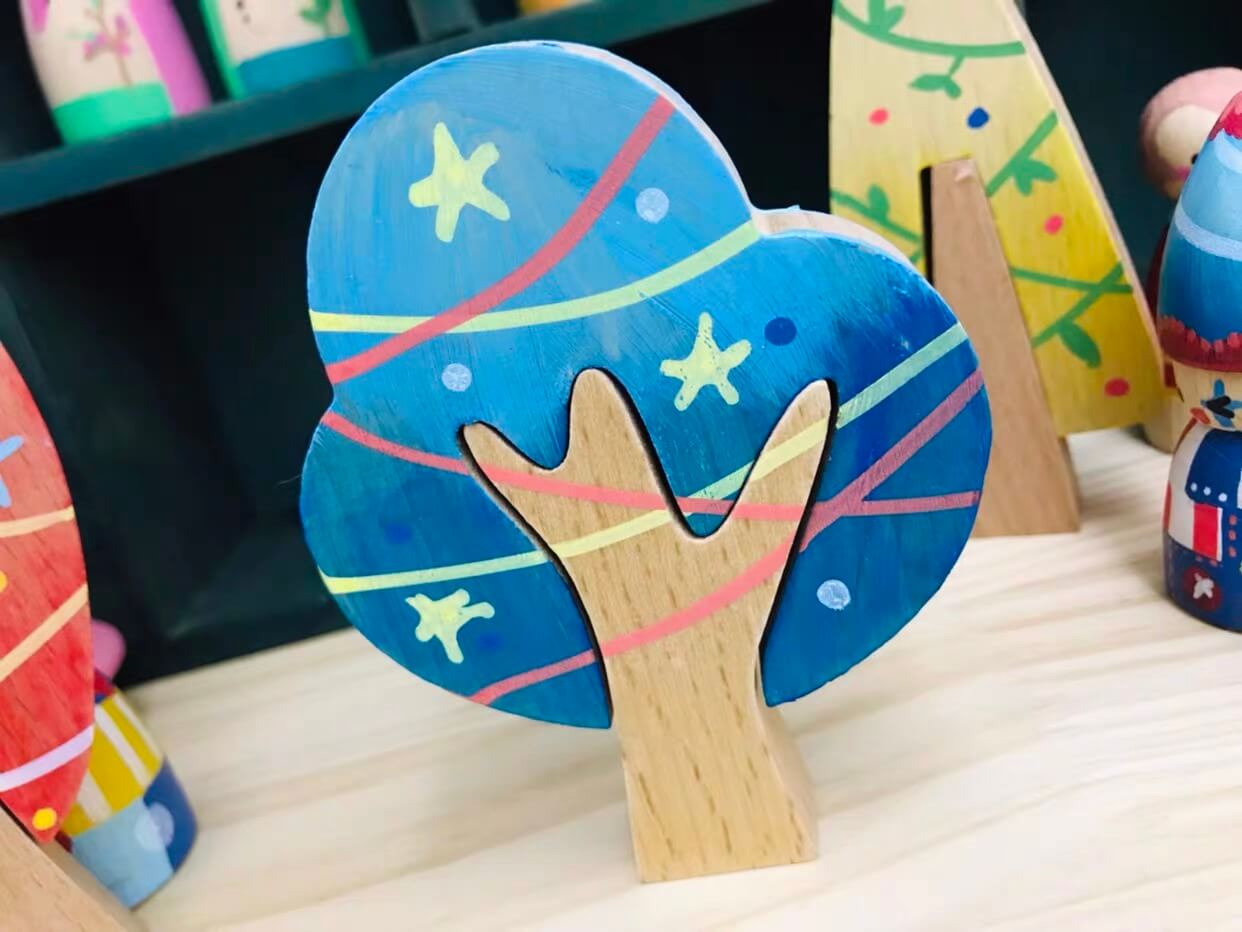
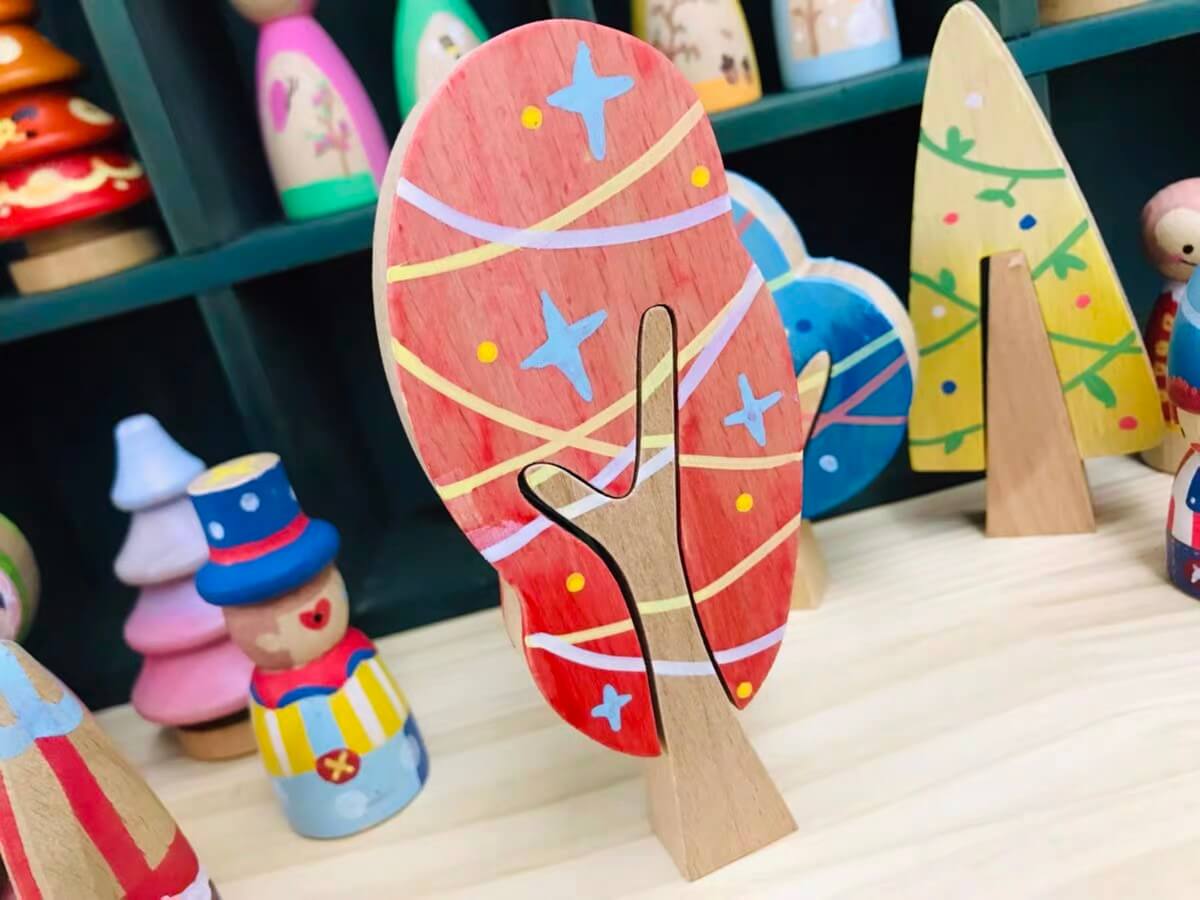
Stars, loose brush marks and simple color blocks all work. The finished trees can be different and still look good together.
Made something you like? Keep it. 💗
A wobbly line, a changed color plan or an uneven dot does not ruin a handmade tree. Those small differences are what make every little forest different.
What will your little forest look like?
Copy one exactly. Borrow only the colors. Make one tree for every season. Or ignore every idea above and paint something completely different.
Start with blank wood and see where the colors take you.
Shop the Wooden Tree KitAlready have your trees?
Save this page for your next painting day.